Friday, 23 May 2014

pinch and turn

pinch and turnpinch and turncrafty timepinch and turnpinch and turncrafty timepinch and turnpinch and turnpinch and turnpinch and turnpinch and turnpinch and turn

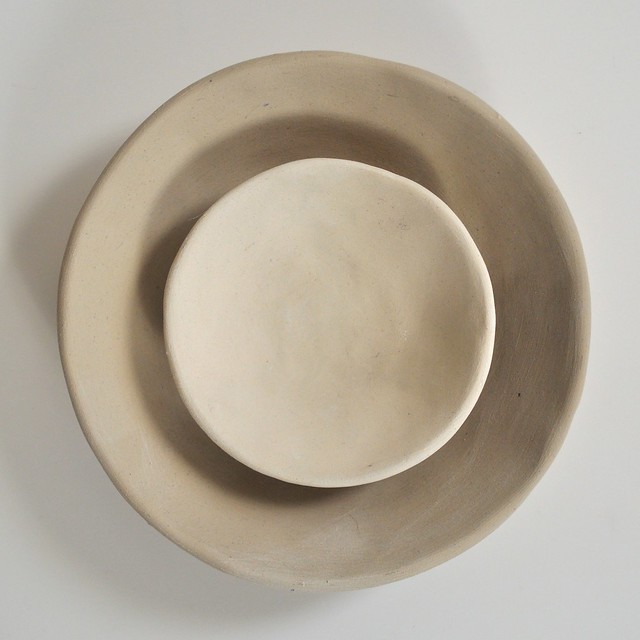
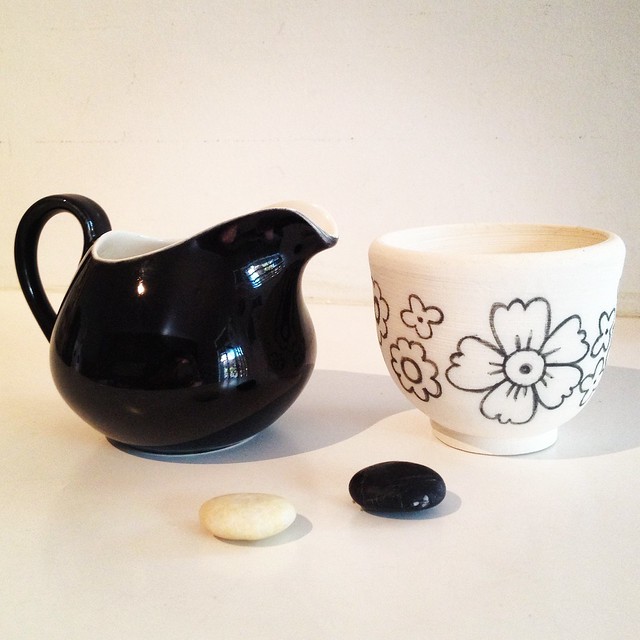
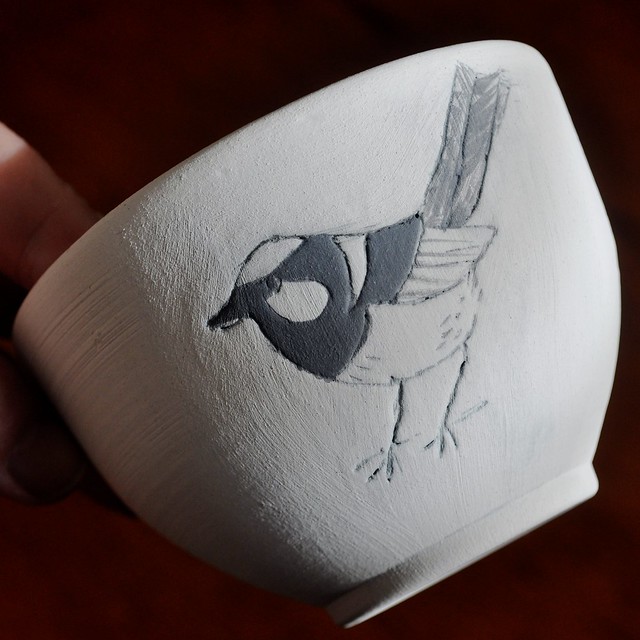
I got my first batch of 14 pots and bowls back from bisque firing a few weeks ago. I get them fired out at Homebush at Pottery Supplies. I was pleased with how they turned out after this first step. And the good news was I didn't lose any.

Sometimes it can be a bit of a disappointment this stage, especially when you begin, pots shrink a lot and the wonky ones look even wonkier after firing. When I first started I wouldn't recognise my pots after their transformation. I'd come back looking for my swans and find these funny little ugly ducklings.

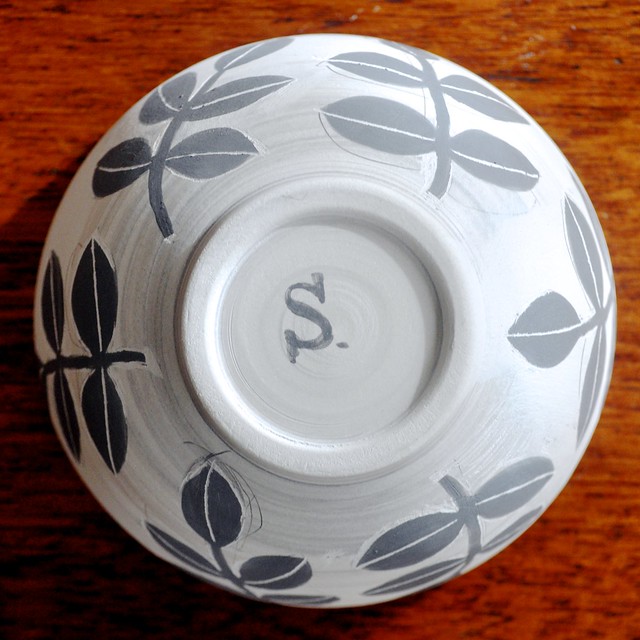
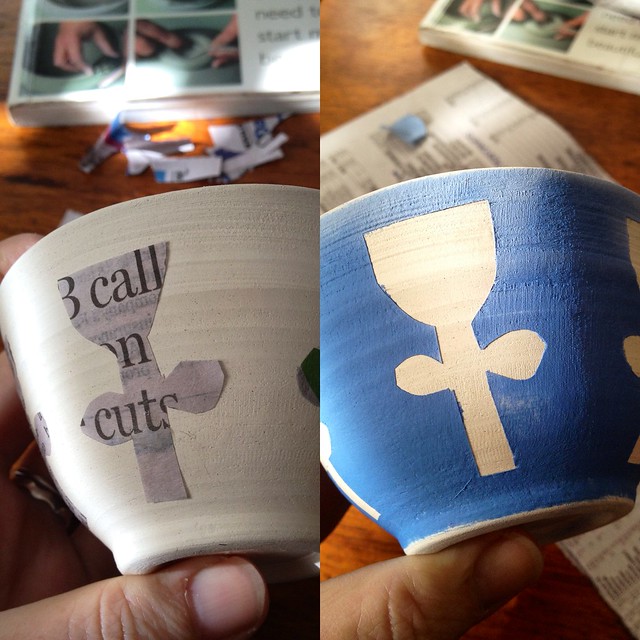
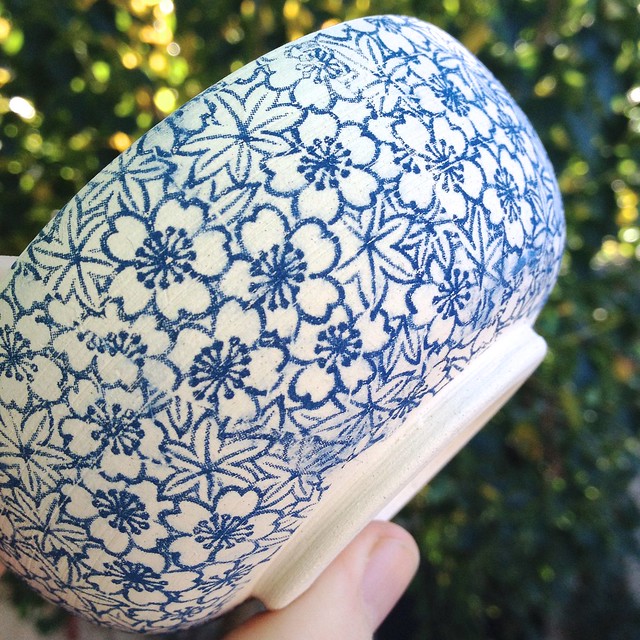
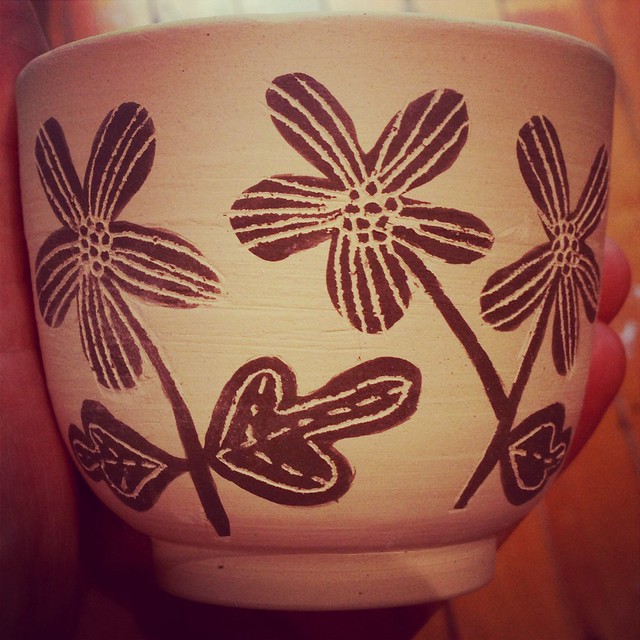
Next step is the glaze firing. I have been slowly painting them with brush on glazes and decorating some of the pots that hadn't had any underglaze. I'm experimenting with lots of different techniques, incised designs, stencils, painting & scratching and tissue transfer. Its fun! It takes time though which I haven't had a lot of lately, so I've been doing them piecemeal as the inspiration hits.

I've been feeling a bit torn with my making recently, trying to squeeze it in between busy stuff and feeling guilty about it or frustrated about having to get it out and put it away unfinished.

So yesterday I called a making day and crafted for the whole day, nothing else! The freedom of having uninterrupted time to play and experiment was so satisfying and I'm going to make this a regular thing. It makes more sense than the stop start way I've been doing it. So while it feels indulgent its probably more practical.

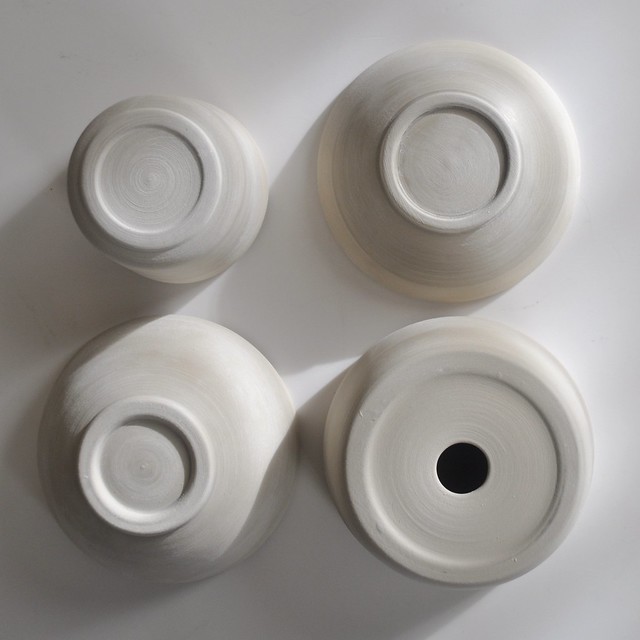
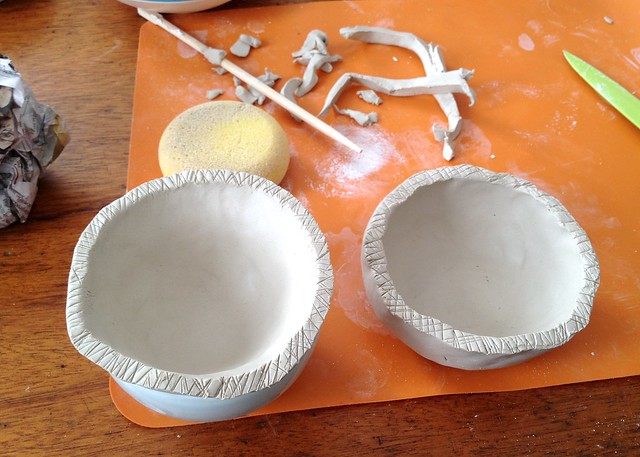
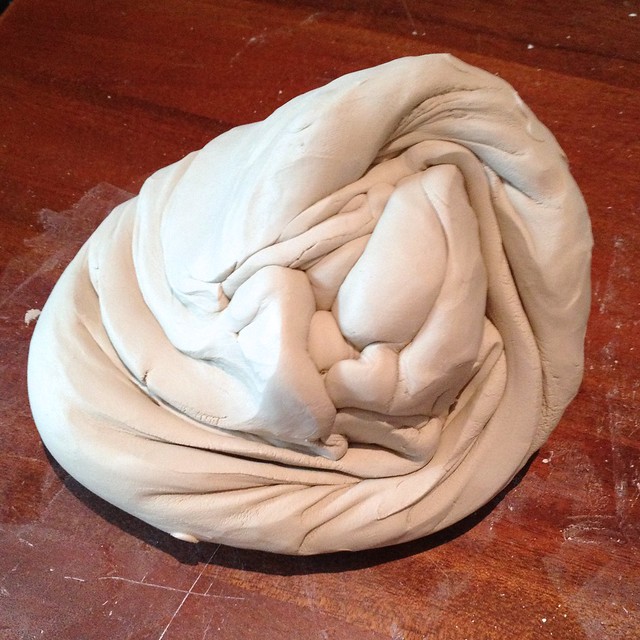
I had time on the wheel throwing which I haven't done for weeks, and then I played around with hand forming, pinch pots and slumping some clay into an existing bowl to form a duplicate.

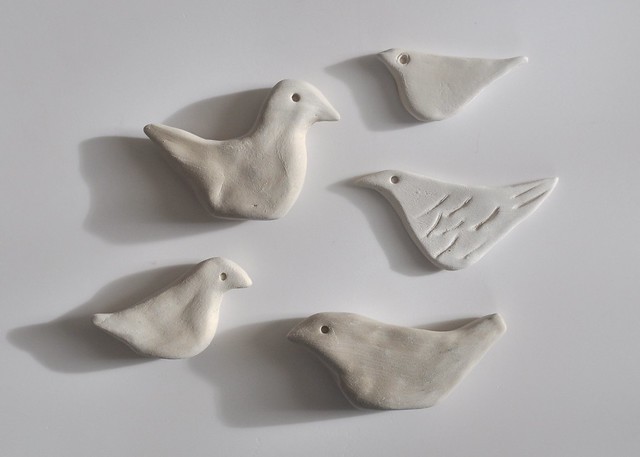
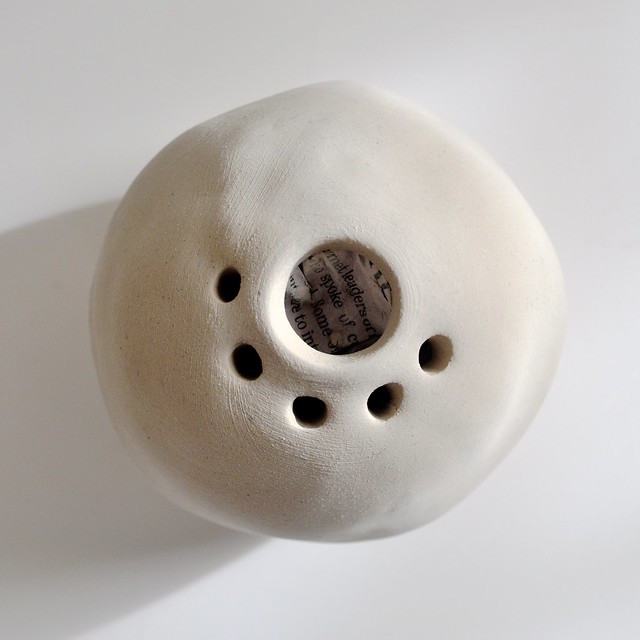
I made some christmas stars and these little birds, and this funny little round pinch pot vase with all the holes. For those of you who are keen to try some ceramics without investing in a course or a potting wheel you can do this with just your hands and some clay.

I will fire this vase and then glaze it, hoping it survives the process, but there are plenty of oven dry clays and no fire versions which would work as well if you didn't want to go the whole hog. If you do want to though, outside a course, then you just pay for the weight of the clay you fire. Its very doable. I have a couple of books from the library that have loads of info in them and photo how tos which have been invaluable.

Wednesday, 14 May 2014

mellow autumn

mellow autumnmellow autumnmellow autumnmellow autumnmellow autumnmellow autumnmellow autumnmellow autumnmellow autumnmellow autumnmellow autumnmellow autumn

 SEASON of mists and mellow fruitfulness,
Close bosom-friend of the maturing sun;
Conspiring with him how to load and bless
With fruit the vines that round the thatch-eves run;
To bend with apples the moss’d cottage-trees,
And fill all fruit with ripeness to the core; 

A perfect autumn light filled the garden this morning. I love the crisp sunlight and moody glowing colours of this time of year.

I haven't been doing much gardening lately, I need to get out there and cut some things back and plant some winter vegetables, but time is flitting past and weekends have been busy with other things.

I do have a garden wander everyday though, it is my meditation. I love seeing what is happening out there, my garden and the creatures in it have a life of their own.

I love to see what's thriving, what's flowering, what's changing colour, see fruit ripening, flowers opening.

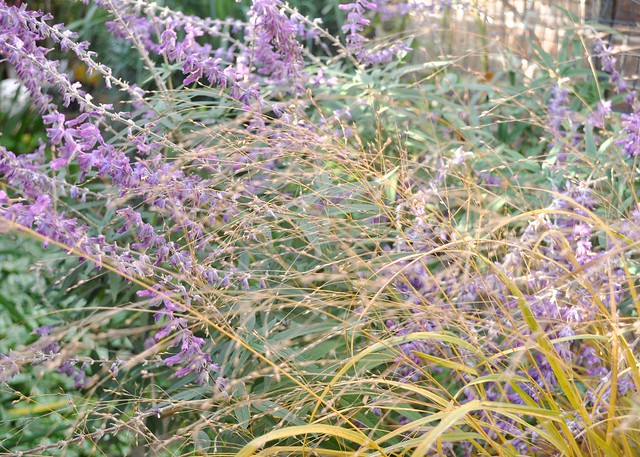
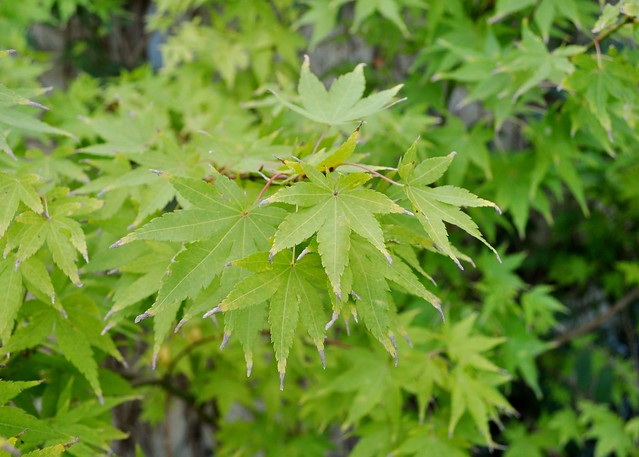
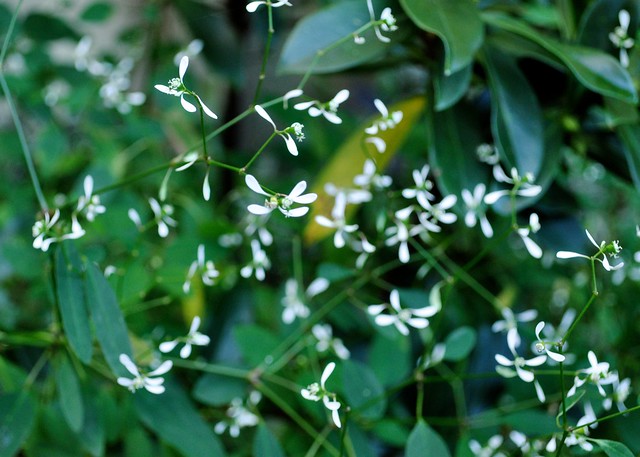
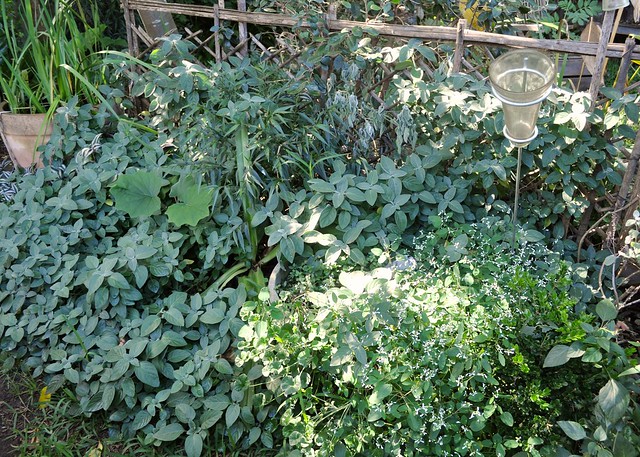
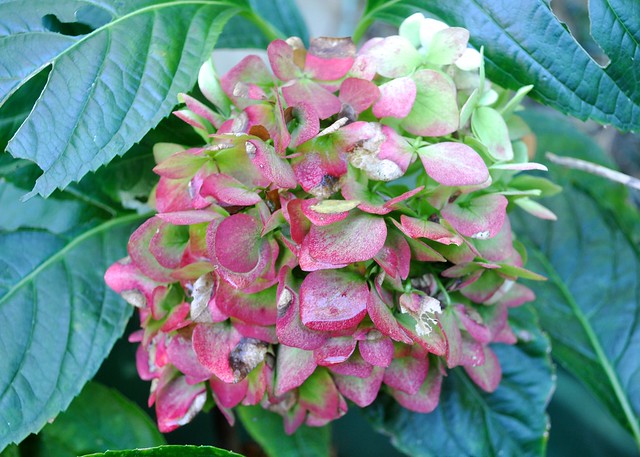
Yesterday I was delighted to see this white hydrangea tanned to a bright pink and green. I loved the fairy floss of the Euphorbia silver fog delicately hovering over the budding daphne. Such a great plant this one. My maple is slowly turning yellow via this great lime green and the feathery grass has suddenly died back to a rusty brown and collapsed over a bright purple salvia.

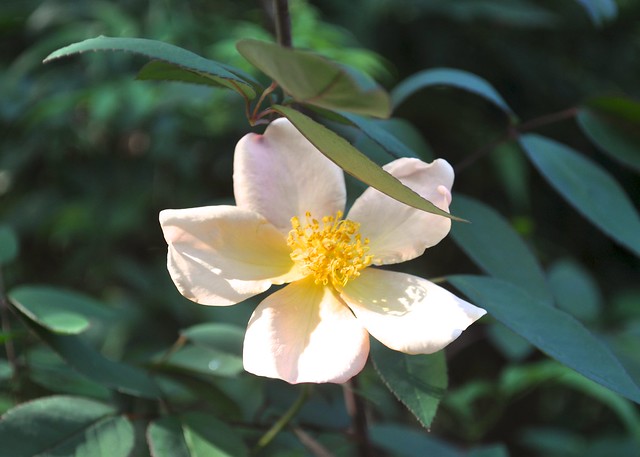
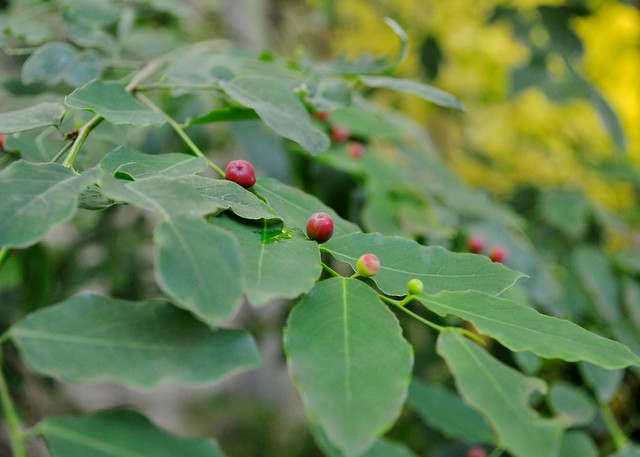
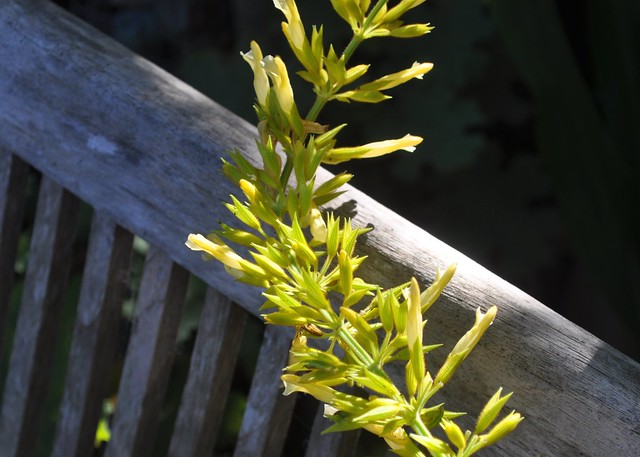
The salvias are in their prime, bursting with colour where there was none. The last of the roses are spot blooming and this little native has produced its tiny mini apple berries, which the birds haven't had a chance to steal yet!

All the seeds I put in have been eaten by slugs and snails, the peas, the beans, the spinach. But still the chinese greens are doing their thing and these little globe carrots with their lime feathery leaves.

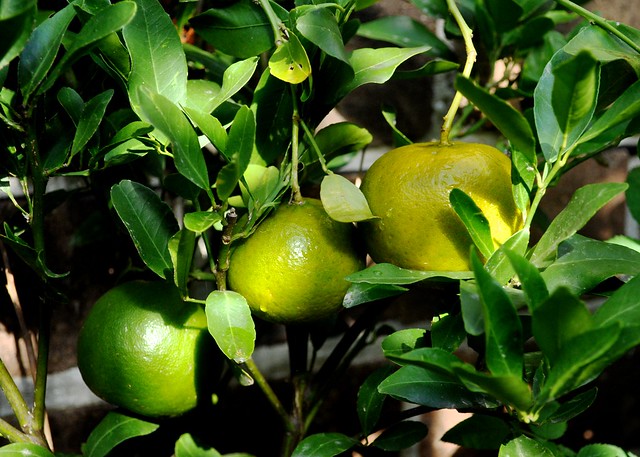
My first ever mandarins are starting to colour on the little dwarf tree we put in a year ago. It can hardly hold them up. 

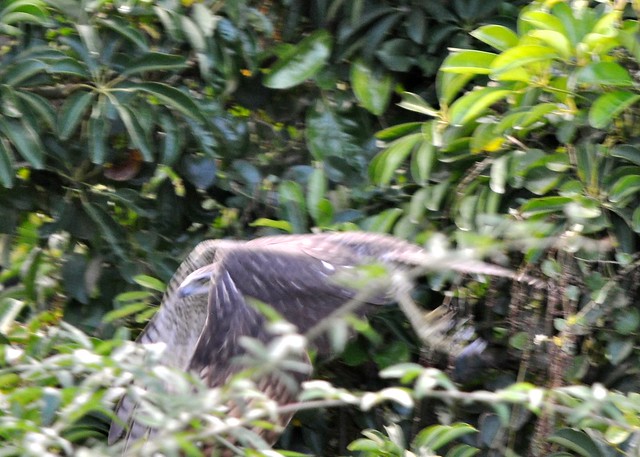
My favourite sight this week,  through the kitchen window the other day I saw and photographed this hawk, a brown goshawk or collared sparrowhawk I think. I wish I'd got another photo but I'm happy to have this one, amazing I had my dslr sitting close by with the long lens on. 

I just hope he was eating mice and not my little bird friends!

Monday, 5 May 2014

lime curd recipe

limecurd2lime curdlime curdlime curdlime curdlime curdlime curdlime curdlime curd

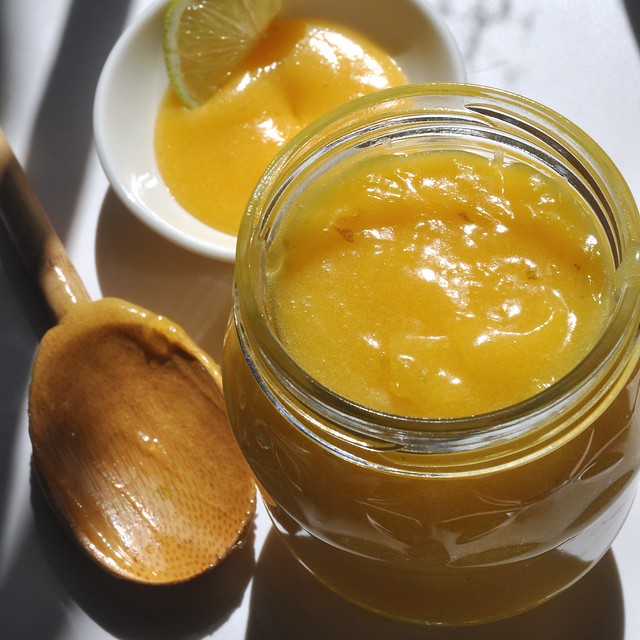
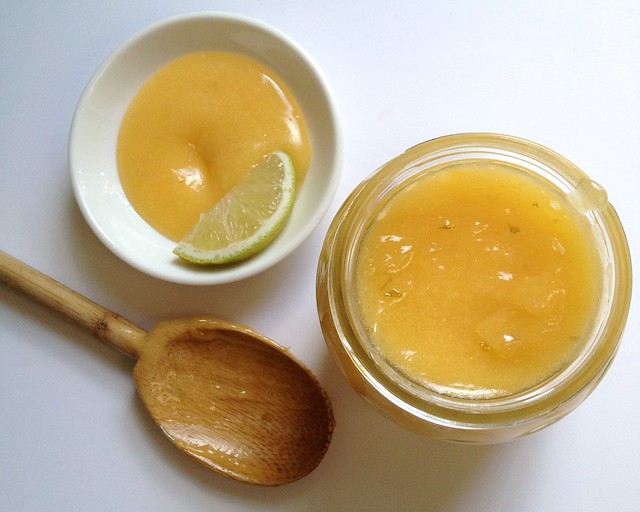
I love simple old fashioned recipes like this home made lime curd which uses a glut of home grown produce and can be stored and saved for later use.

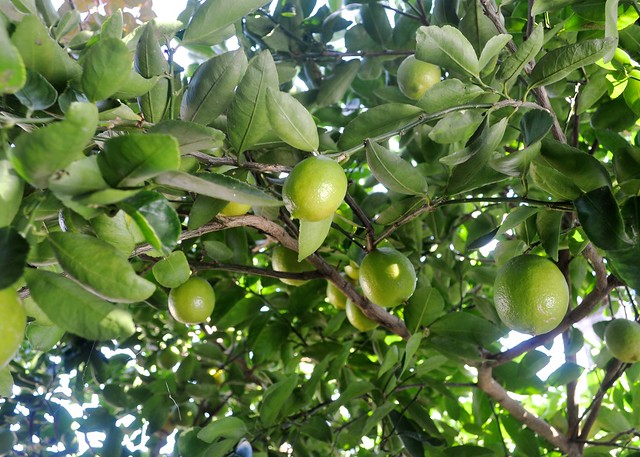
Although I've had a lime tree for the last six or so years, this is the first year its been really happy and produced a bumper crop. More sunlight since a dead hakea was removed from beside it has meant a doubling in size and a seemingly endless supply of lovely limes. In fact this recipe uses the windfalls that we couldn't keep up with.

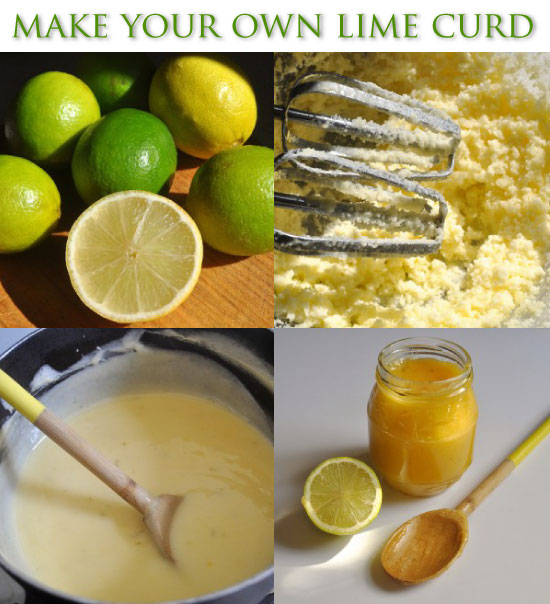
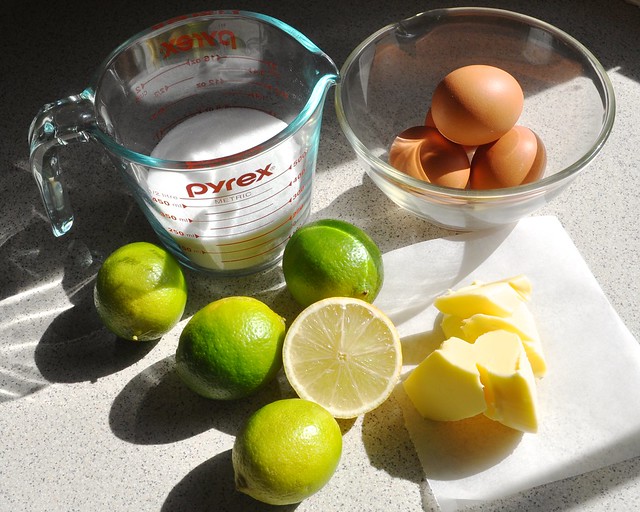
I based my curd on this recipe, but substituted limes for lemons. The recipe used about 5 small limes.

85 grams (6 tablespoons) softened butter
1 cup caster sugar
4 free range eggs - 2 eggs and 2 egg yolks
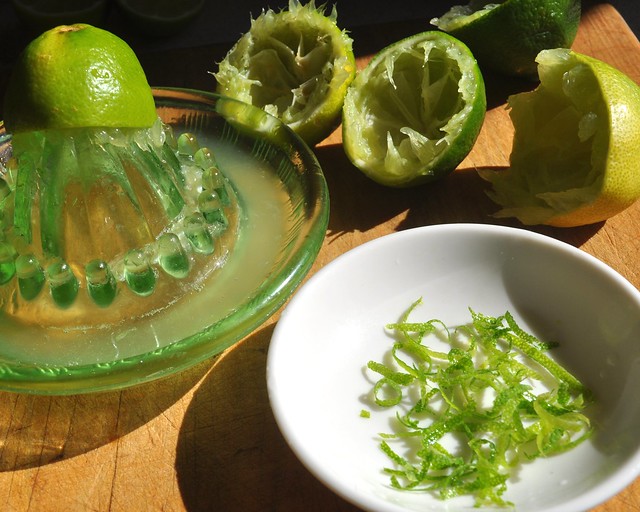
2/3 cup of lime juice
1 teaspoon grated lime zest

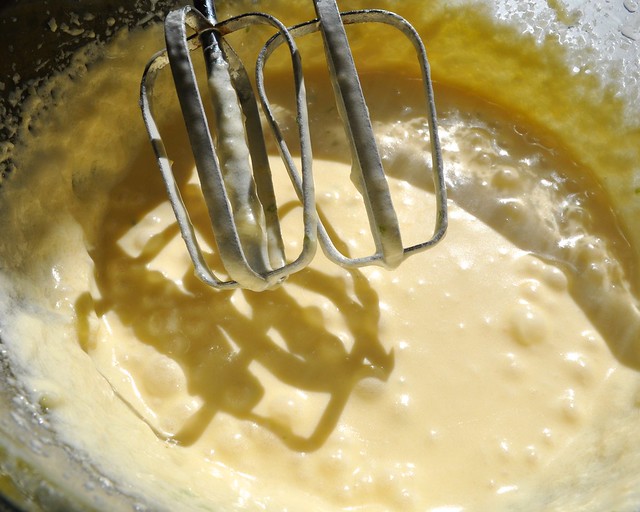
Beat the butter and sugar together until combined. Slowly add the eggs and yolks. Beat for one minute. Add lime juice and zest and mix well until combined.

The mixture may separate but will come back together when heated.

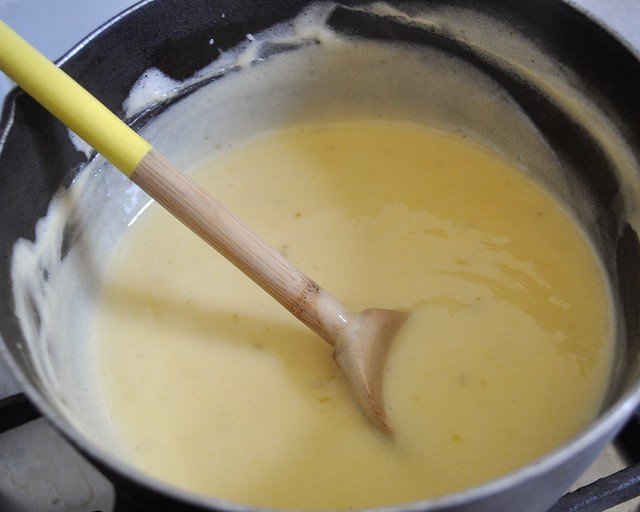
Heat over low heat until combined and then cook over medium heat stirrring for 15-20 minutes till it thickens and colours.

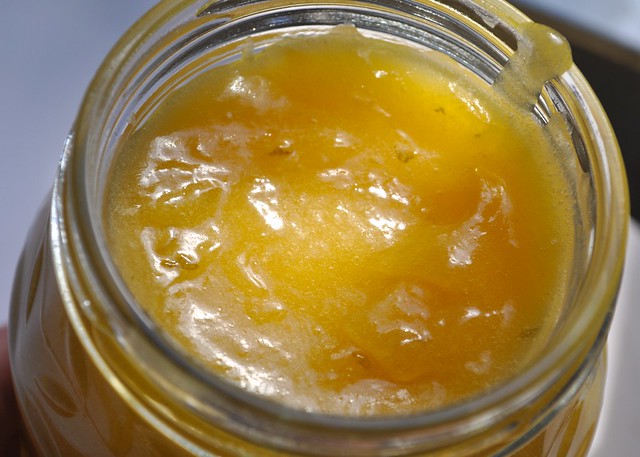
You can put your curd in a bowl covered with glad wrap in the fridge but mine went in to a sterilised jar. (I know there are other ways but I always sterilise my jars in a water bath - place jars and lids in a large stock pan covered in water, bring to the boil and simmer for 20 minutes.)

This beautiful lime curd, so much fresher and nicer than shop bought and with no artificial thickeners or colours, will be perfect for making my favourite cake! My mother's group lemon cake will become my mother's group lime cake with home made lime curd, recipe here. Often when I go to make this cake I find I have no lemon curd in the cupboard. With this simple recipe it will be easy enough to whip up my own.