Showing posts with label my creative space. Show all posts
Showing posts with label my creative space. Show all posts
Tuesday, 24 May 2016
clay journey
My blog voice is rusty.
I have been back to this space many times, trying to craft a post, to get the machinery moving again. But the longer you stop the harder it is to start again.
So please accept this photo heavy post about the part of my creative life that is getting the most attention and taking the most of my time - Ceramics.
I want to document this part of the journey before I travel on further. You can see how I ended up here by using the #clay tag which I've added to all my ceramics posts.
Its all about clay at the moment, which you will know if you follow my instagram @flowerpress, or definitely if you've seen my new clay themed account @flowerpressclay!
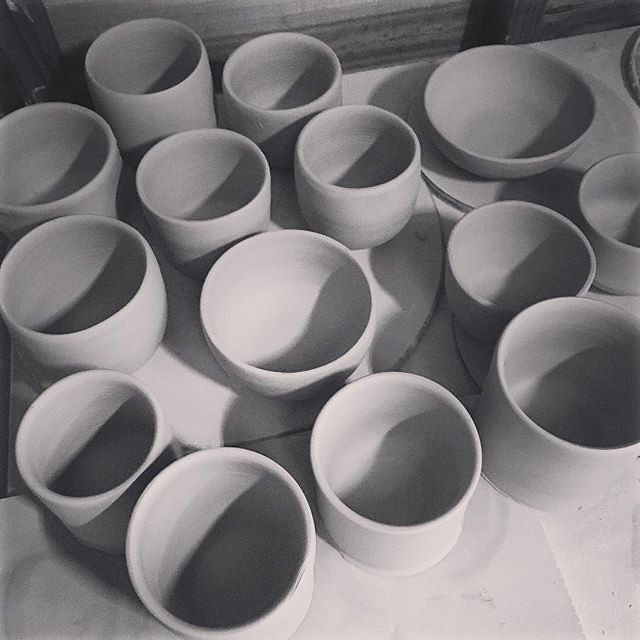
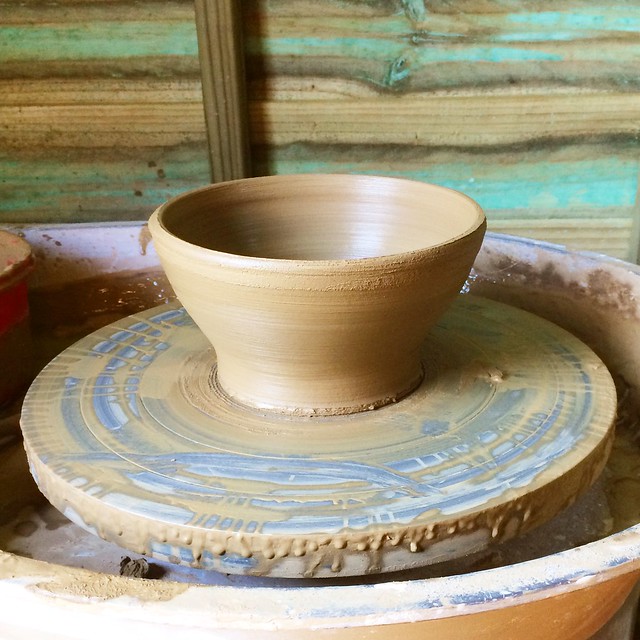
There is something about the meditation of throwing in particular, the slow journey to improve at this very difficult skill that is consuming all my creative brain.
And it can't be rushed, so I'm learning patience along with my practice.
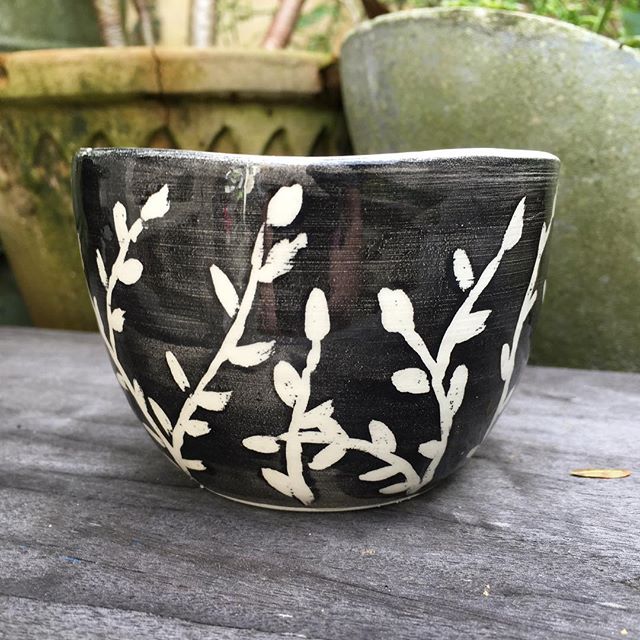
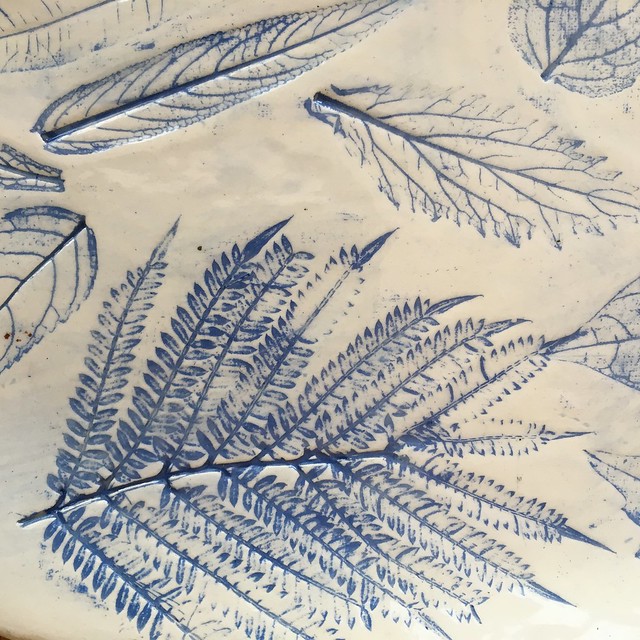
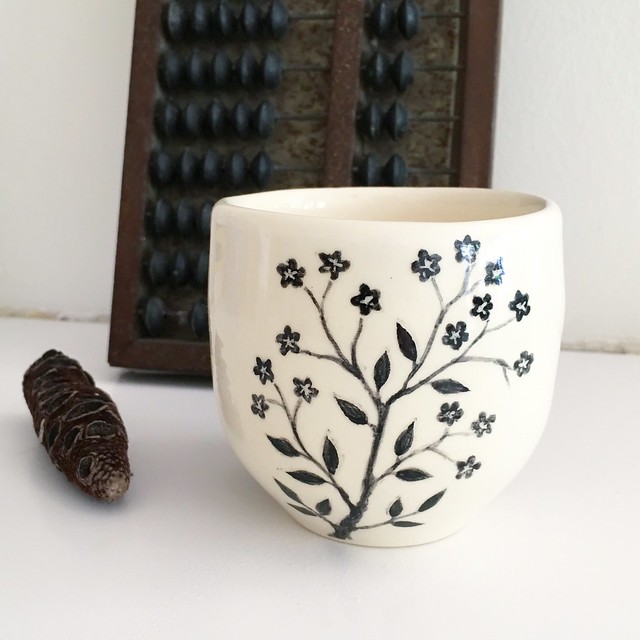
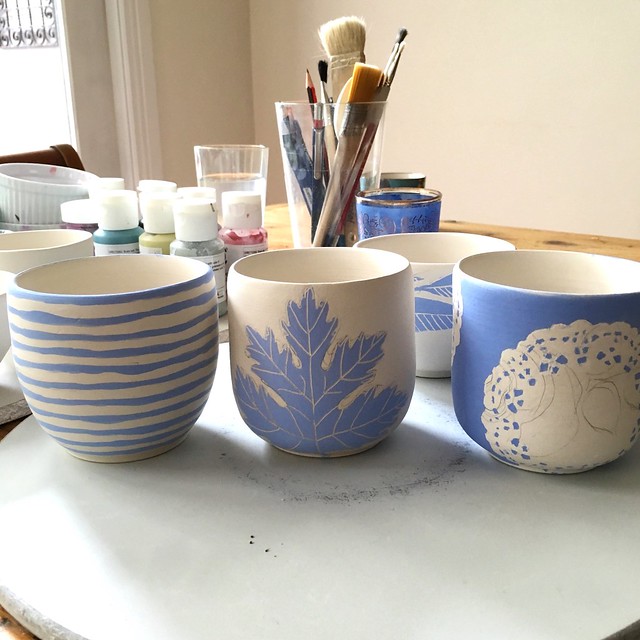
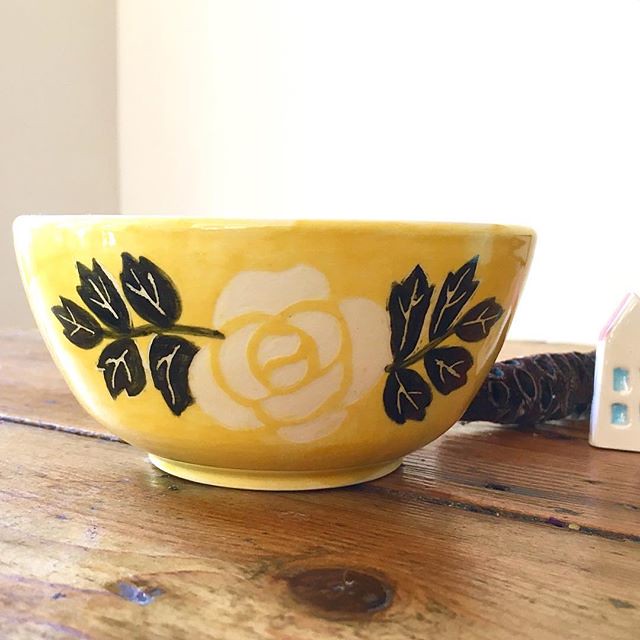
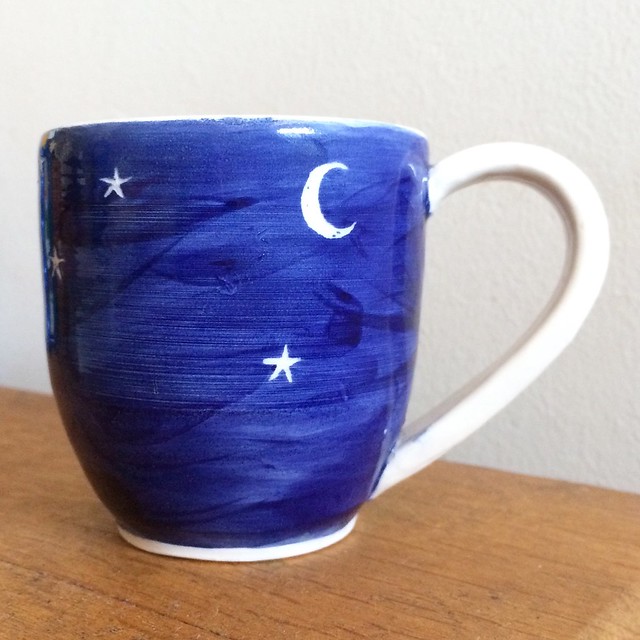
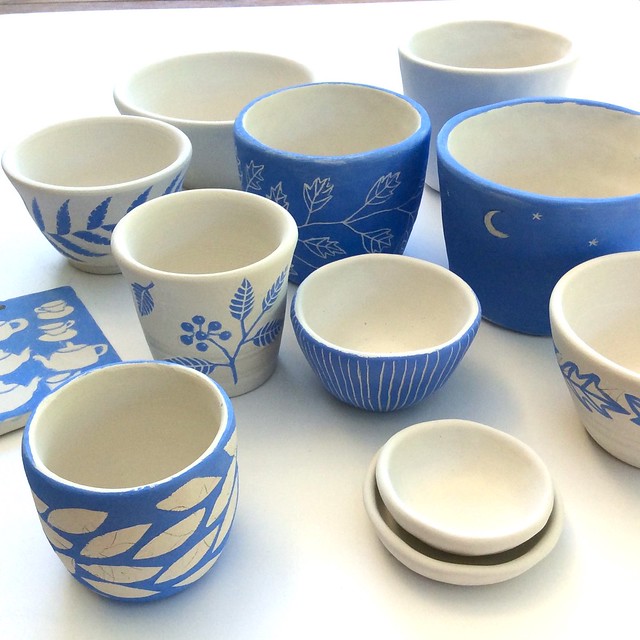
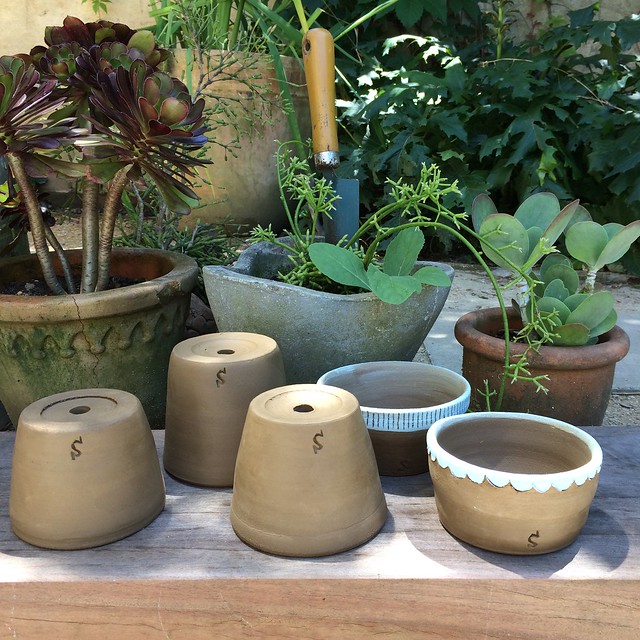
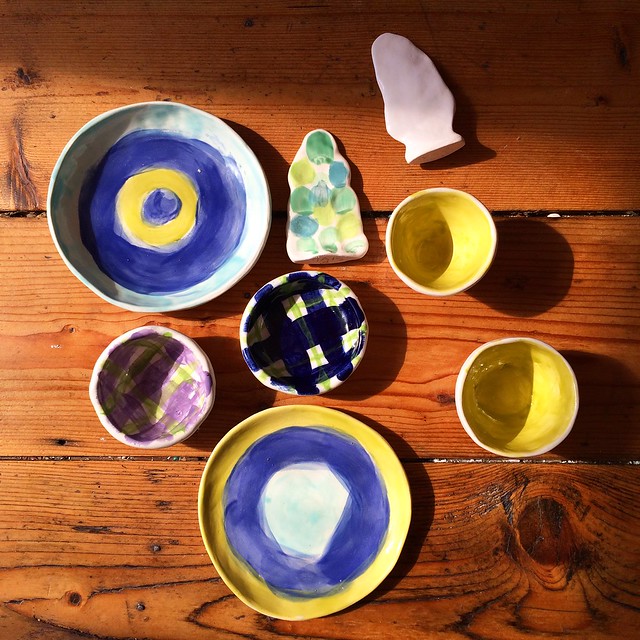
After a few weekends at the wheel I have a big batch of thrown pots now sitting waiting for decoration and to be fired. But this post records some of the pots I've made so far this year, before I rush off to that next batch.
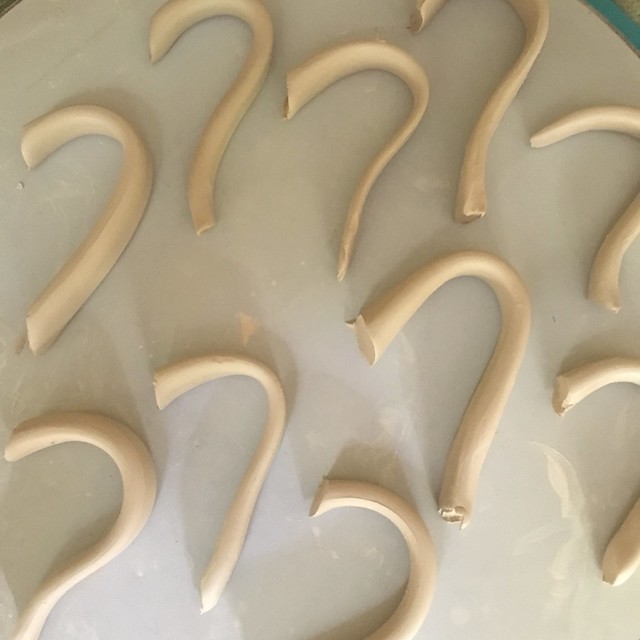
As you can see I've tackled handles, and found them not quite as scary as I thought. There's something wonderful about the shapes they make and the magic of their strength.
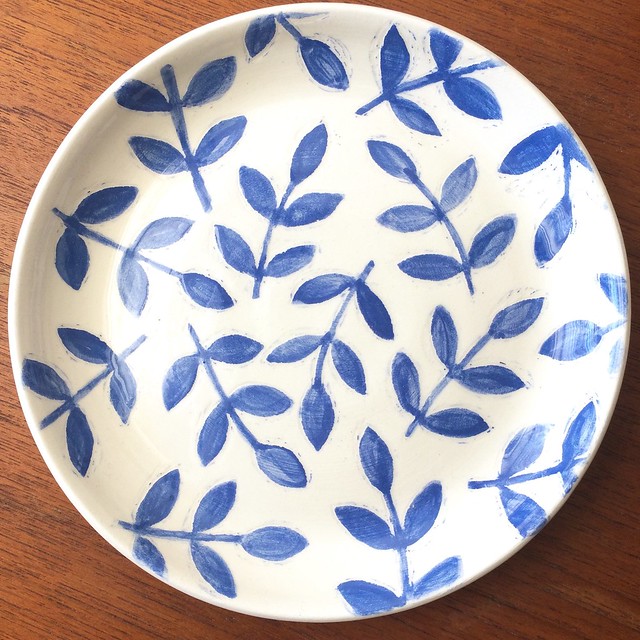
I've also experimented with different styles of decoration too, wax resist, mishima, crackle glaze, underglaze and pooling glaze.
I promise another blogging in the not too distant future.
Labels:
clay
,
clayjourney
,
craft
,
my creative space
Friday, 27 November 2015
kiln
Last year I had a rush of blood to the head (a bit like that other time) and I bought a pottery kiln!
If you've been following my clay adventures you will know that I fell hard for this new craft a couple of years ago when I took my first class and I've been trying to learn more ever since. (So funny to look back at those first pots, perhaps I have improved lol!).
The kiln wasn't expensive but what I didn't realise at the time was that I didn't have the right power to run it and it wasn't going to be as simple as plugging it in.
I hit a steep learning curve, wasn't sure how to fix it and then our renovation came along all the clay gear was packed away while they dug a big hole in our back yard.
Fast forward to this year and the moment I've been dreaming of finally came the other day. My kiln was wired in and I can finally fire my own work.
I'm very much a beginner, and there is so much to learn. But its really nice to have control over my own little experiments. I love that.
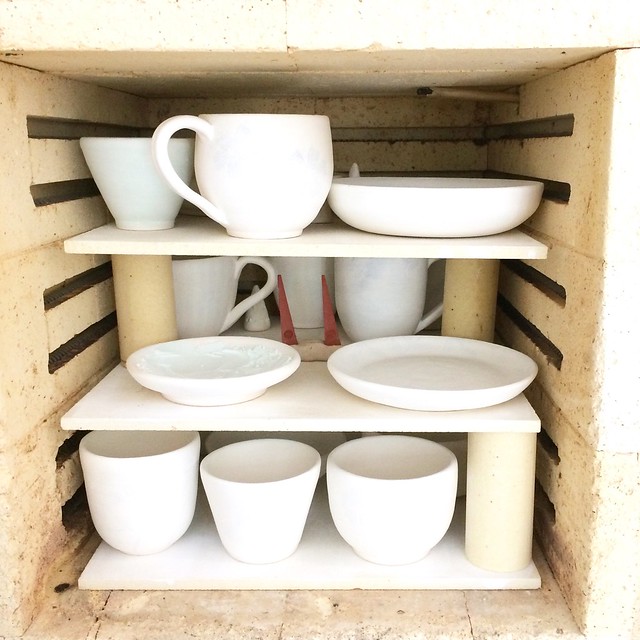
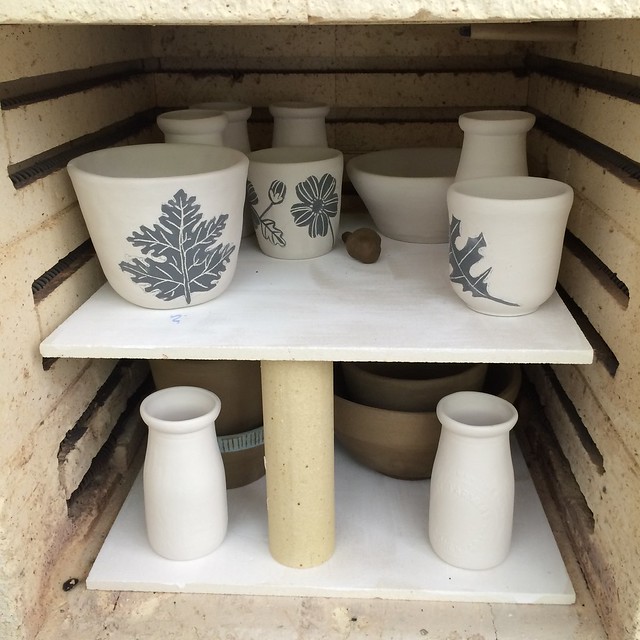
On the first day I plugged my little kiln in to its shiny new powerpoint, put some not so precious pots on the shelf and base of the kiln to do a bisque fire and turned it on.
I was hoping to fire to 1060c. Things started well, it turned on quite happily and the temperature climbed steadily for a few hourse. But then to my disappointment it stalled at 1000c and wouldn't budge. After a couple of hours I turned it off, disappointed but hopeful it had done enough to bisque fire the work.
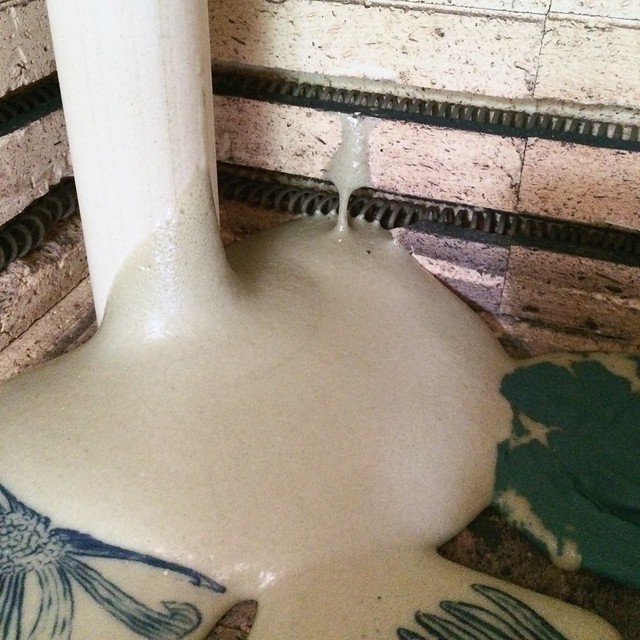
Then disaster! Turns out the temperature gauge was faulty. The kiln had actually gone way past 1000c - high enough even to melt clay! The next morning I opened the kiln to devastation. All the earthenware pieces had melted into a glassy kind of substance and stuck like cement to the fragile firebrick floor and shelf of my precious, long awaited kiln.
You can imagine my feelings, but long story short, it was fixed. Turned out it wasn't too bad and with some advice and help from a few generous and knowledgeable people the kiln was fixed. Phew!
I now use pyrometric cones to keep an eye on the temperature which I look at with my new fashionable kiln sunglasses. In future I'm hoping to have a controller attached which will mean I won't have to manually turn up the heat every hour and the new temperature gauge might show the right temperature.
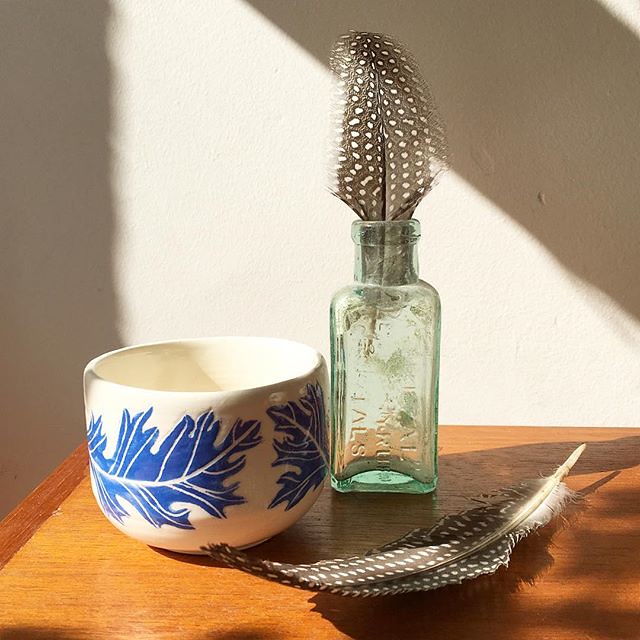
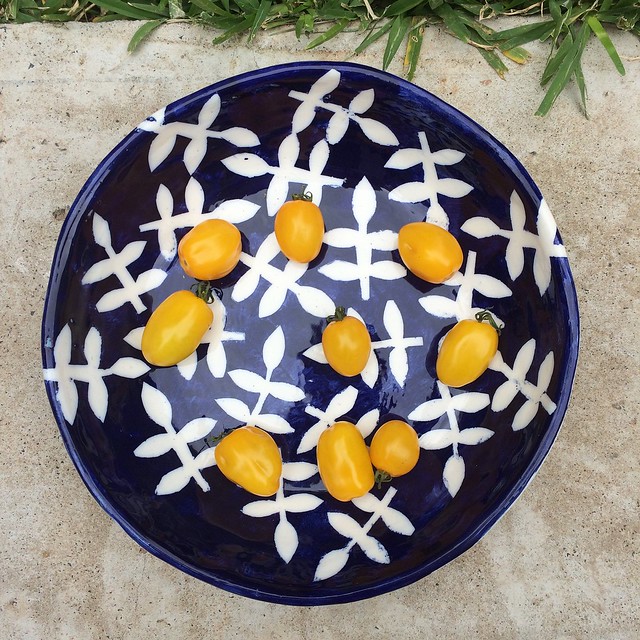
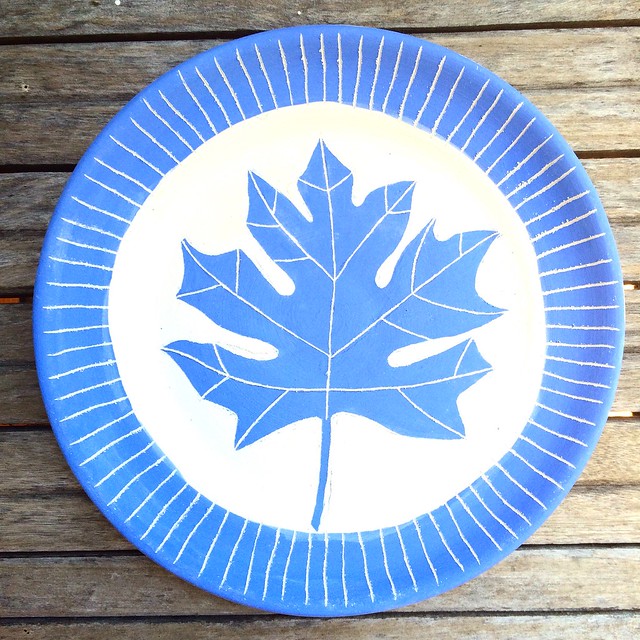
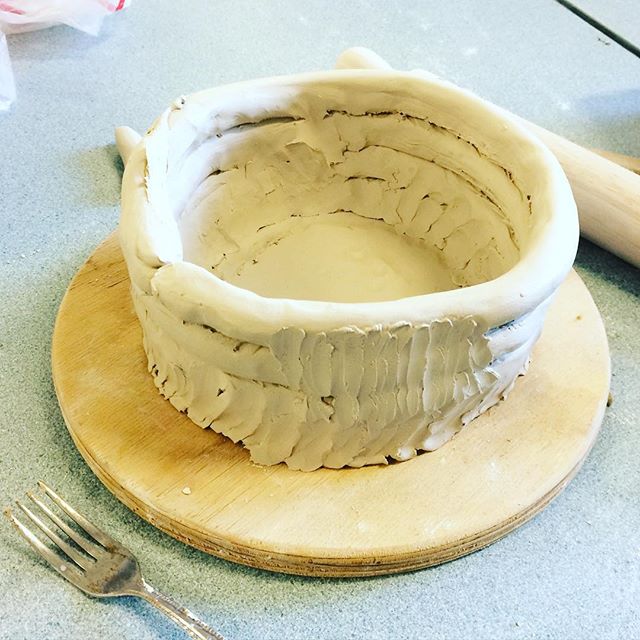
I've managed three successful bisque fires and one glaze load now. I've taken pots through from raw clay to finished piece, all in my own space. That blue bowl with the leaves was handbuilt, bisque fired, glazed and then fired again here. There's something really wonderful about making something from scratch. It makes me so happy.
I've set up my pottery wheel in the new garden shed and put a workbench in there too.
Combined with the handbuilding course I've been doing with Cath Fogarty from ChinaClay I am reinspired, out of my creative rut and looking forward to lots of potting and playing next year.
Labels:
clay
,
craft
,
my creative space
Monday, 27 October 2014
mold making class
A couple of months ago I finished glazing my second batch of pots and drove them out to Homebush Pottery for firing. As you may have seen on Instagram I got there only to find out they had moved to Brisbane. Boo!
I was in a tizz for a while, disappointed and wondering what to do, but then I remembered that Blackwattle Pottery Supplies which I'd visited once before has a firing service too. Its in Ingleburn, a much longer drive from me, about twice as far, but they are so nice there that its always worth the trip.
I'd noticed on their site earlier in the year that they run a few specialised ceramics courses too. And you know I love a craft workshop. I was really interested in learning about mold making which I'd been stalking on youtube so it seemed like fate when my last batch of pots was ready the day they ran the biannual mold making course again. I booked in straight away.
You may not know but lots of ceramics you use every day are mold made. Its one way of producing multipe items the same. And you can make a mold from just about anything, so it opens up even more wonderful possibilities for making.
John and Amanda run Blackwattle Pottery and between them have decades of ceramics knowledge. What they don't know about ceramics isn't really worth knowing. They are also the nicest people and really generous with their skills and knowledge.
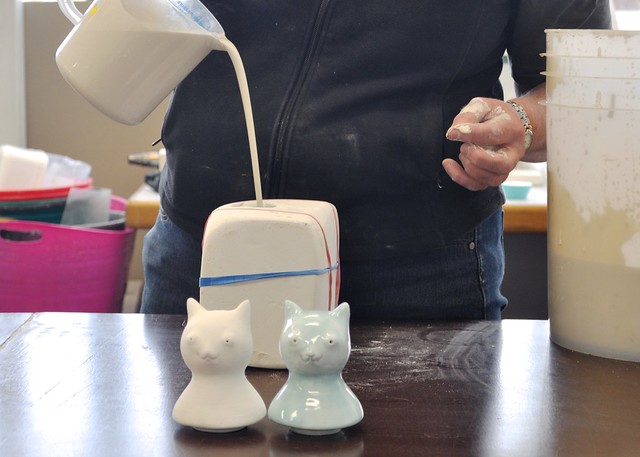
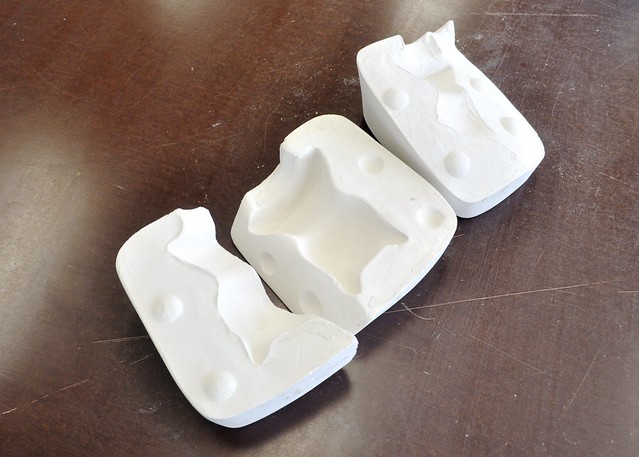
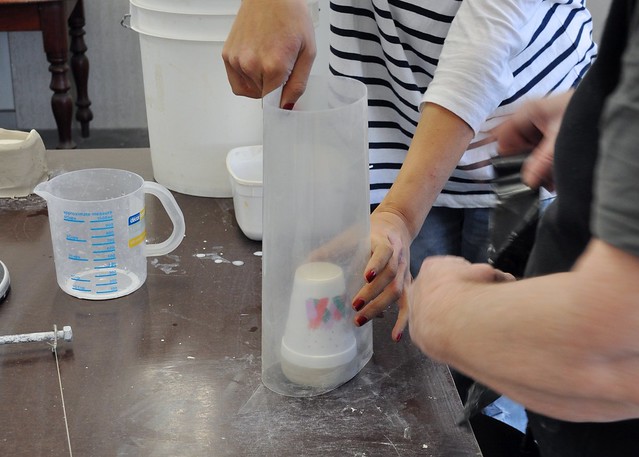
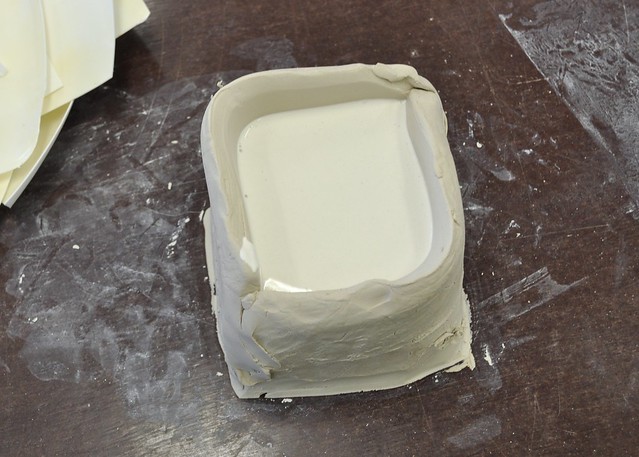
There were three of us in the class and we spent the day making molds. Amanda showed us one of her molds and poured it with slip first up. Its a wonderful process which relies on the plaster molds to draw the water out and solidify the liquid clay slip.
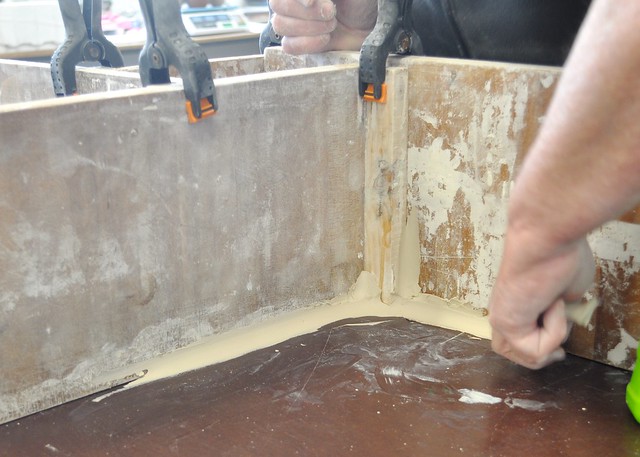
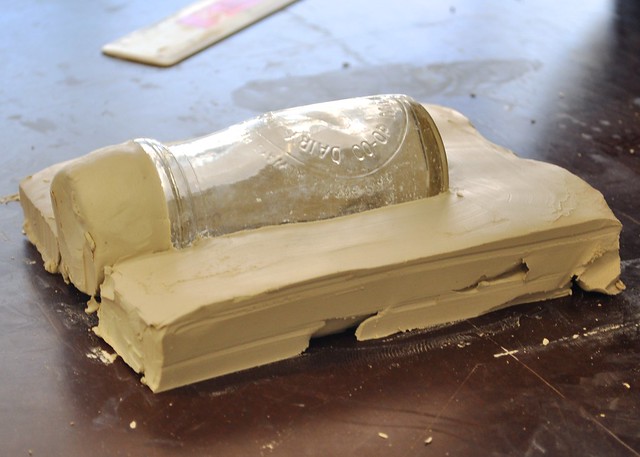
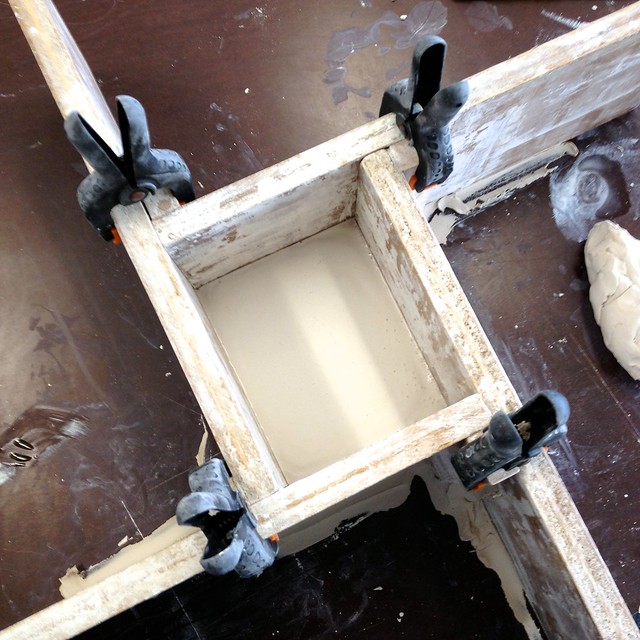
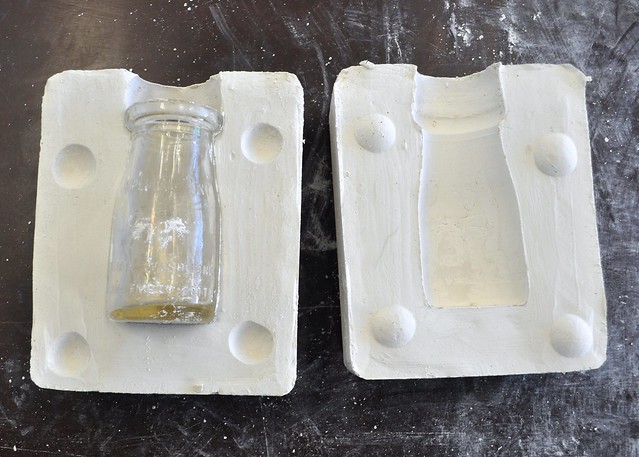
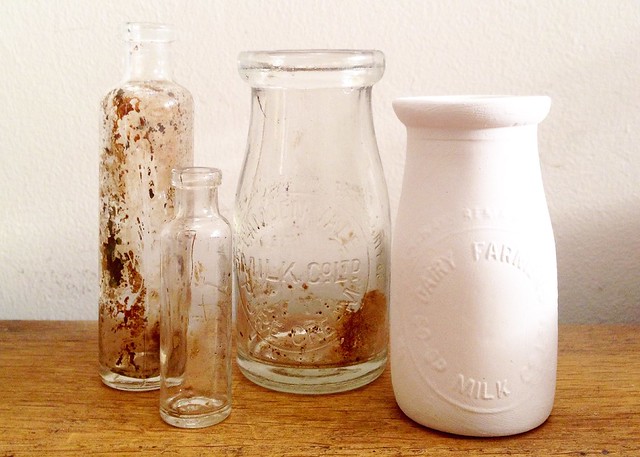
After that we brought out the objects we'd brought along to mold and used different techniques to set them up. I took along this little vintage glass milk bottle to use as my mold and we set it up in a little wooden frame using right angle cottle boards. As you can see the other items used different setups so we got to see a range of techniques.
At the end of the day I came home with a couple of molds and lots of new thoughts and ideas in my head. It was really inspiring.
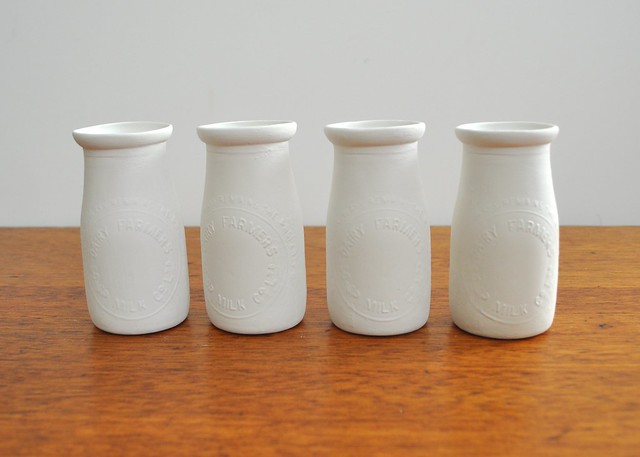
Of course because of our renovation (week 6!) I have no space or outside areas to experiment at the moment, but I did manage to use my mold a few times to make these little ceramic milk bottles. They have been fired once and are now back at Blackwattle for a final glaze firing.
Hopefully they'll be ready for my stall at the Etsy run markets at The Rocks Village Bizarre. This event looks like lots of fun and sees music, magic, shows and markets running from November 7th till 19th December in the magical surrounds of The Rocks.
My stall is the first week, Friday November 7th and I will finally be selling a few of my little ceramics. I'll also have tea towels, prints, cushion covers and more. The markets are on the corner of Playfair and George streets in The Rocks and run from 6.30pm-10. A great chance to kick your Handmade Christmas shopping off with a bang! It looks like there will be lots of fun stuff happening alongside too, so I hope I might see you there.
Labels:
ceramics
,
clay
,
craft
,
my creative space
Thursday, 13 March 2014
learn to sew - draft and sew a tshirt
For a while now I've wanted to have a go at sewing stretchy fabrics. Like many people though I have an illogical fear of them, but I was determined this year I was finally going to have a go. It became one of my resolutions.
Last week by coincidence I was on the CreativeBug website, keen to watch a ceramics video by wonderful claymaker Diana Fayt. Creativebug is a subscription site where you pay for access to creative and making video series on a range of topics.
They have an offer where you can get a month's access free so I signed up straight away to watch my ceramics tutorial and then started looking around for other interesting content. The role call of instructors on this site is fabulous, it includes Anna Maria Horner, Lisa Congdon, Heather Bailey, Molly Hatch and Leisl Gibson.
This isn't a sponsored post at all, but just something I've found that I wanted to share.
While browsing I found two videos by Cal Patch - 'Pattern Drafting a TShirt' and 'Sewing a TShirt'. Here was a chance to play a bit with pattern making and stretch sewing all in one project.
I love Cal's presentation style, so calm and easy to follow. Following her instructions I soon drafted up a pattern last Saturday. The next day I was keen to try it out and found some jersey in my stash. I cut out my pattern and sewed this tshirt.
I wish I could tell you it was trouble free. I wish I could tell you it was a perfect fit. In truth there was a fair bit of unpicking, there might have been some bad language, there was a tiny bit of despair.
But rather than throw it on the bedroom floor and be done with it I have perservered and unpicked and resewn and tried to resolve the things I didn't like. And in the process I have learned to sew stretch and not fear it, hoorah!!
Please accept Mr Flowerpress' photo of me wearing my muslin t shirt as proof. Not the most flattering shot but well, I'm a bit averse to selfies at the best of times!
I talked in my wrap up of last year about learning a bit more about adapting patterns to my shape and I learnt lots of things about pattern making from this very simple pattern that Cal helps you draft. It is a great place to start and the wonderful thing about stretch is how forgiving it is shapewise.
The bad things about sewing stretch are trying to hem the bugger in a straight and unpuckered line. After some googling around the interwebs though I found a hint to solve this, you use your handy walking foot. What a difference.
Where I went wrong.
1. I used the wrong, overstretchy fabric, but I was determined to have a no cost project from materials I already had. In future I will buy a simple cotton jersey.
2. I went for elbow length sleeves and had to take them in a lot at the elbow. I think I should have drafted the pattern for long sleeves and worked back.
3. The major problem which I couldn't resolve - I cut the neckline too deep. While there's no real cure for that I will know next time to alter the pattern. I also took in the sides an inch. This might be because of the extra stretchy fabric, but I think I will adapt the pattern when I make the neckline smaller, and move the shoulder seams in a bit while I"m at it.
4. This fabric is a bit uninspired but sewing a muslin from the stash felt good.
Now I do have an overlocker/serger too, I think that helps a lot. I used it on the shoulder and side seams and then the normal machine for the rest. Cal's videos though use an ordinary machine throughout.
If you have been putting off sewing with stretch this is a great place to start.
Labels:
clothes sewing
,
learn to sew
,
my creative space
,
sew
Sunday, 5 January 2014
2013
And there goes 2013, just like that!
Actually mentally I'm still in 2013, and will be for a while. I'm still on holidays and have some lovely family camping in my future, hooray. 2014 can cool its heels a moment while I recharge.
An annual tradition round here is this end of year post when I go through my Flickr pages and compile a mosaic or two of my creative life for the year. {and if you're interested here's 2012, 2011, 2010, 2009 and 2008}
Its always a nice surprise to see how busy and productive I've been despite sometimes feeling like I'm getting nowhere and taking too long about it!!
This year is no exception. It was big! Some great important things happened this year and I learnt a lot.
My work was featured in The Sydney Morning Herald's Spectrum Design section.
I taught my first craft workshops at SewMakeCreate.
I did a ceramics course and learnt to throw pots. A new addiction this and I'm already signed up for more in 2014.
I learnt to Shibori, expose my own screens and make coiled brooches at workshops run by other people. It was fun! I tried embroidery. Here's to more learning this year too.
I cooked and ate a lot. A brief flirtation with the 5:2 diet and an increasing dislike for processed food saw me make my own pickles, jam, marmalade, yoghurt, ricotta, paneer, bread, soup, curries, pastries, pizza, dolmades, soap and lots of cake. I also grew more of my own produce, which made me very happy.
I printed lots of fabric. So much that I didn't get round to showing it all on the blog. That's something to remedy in 2014, and sewing more with my flowerpress fabrics is another.
I sewed some more clothes for me, and I thought and read a lot about learning to adapt patterns to my particular shape. That's another thing I want to pursue further this year.
I dithered in my bloggings and was quiet for some of the year. I can see from the comparative number of posts that I wasn't as present here. However, the absence made me realise blogging's importance in my life. I hope to embrace it anew. This year I hope to be a more focussed and committed blogger. Another thing I really enjoyed this year was getting out and meeting more bloggers in person, both friends I've met through the blog and via ABCD meetups and the Voices 2013 competition. Bloggers are such lovely people and its nice to have a chance to catch up on all that stuff that you never talk get a chance to talk about in emails.
Do you have plans for 2014, I need a few more ideas for the year, and I'd love it if you wanted to share yours here. And Happy New Year!!! Here's to 2014, but not just yet ;-)
Labels:
art
,
blogging
,
fabric design
,
fastdiet
,
flickr
,
flower
,
food
,
garden
,
my creative space
,
screenprint
,
sew
Monday, 28 October 2013
sampler
Inspired by my baby steps in embroidery on Carina's blog hop, I picked up this neglected Alphabet Sampler kit a few weeks ago. I bought it from Alicia Paulson's Rosy Little Things shop way back when. The kit sold out but if you are interested the pdf pattern is still available here.
I am in love with the base colour of the embroidery, and love that the design is screenprinted on to the fabric. It is helping me practice my embroidery stitches without too much thinking as the colours and stitches are all specified in the notes.
One thing I changed from the supplied kit was the needle. I found the short thin embroidery needle a pain and kept pricking myself. I wasn't enjoying it. I don't think that the work suffers for using a larger needle and it keeps me happy.
I'm also liking the embroidery crewel that comes with this, for those of you who haven't used it its a yarny sort of thread, different to the flosses I've used before, it doesn't separate as much as the floss and seems more immune to snarls, I like it. It looks much like the floss in the embroidery too, despite its woolly feel.
I've discovered too that embroidery is a great travel craft! Small, portable and involving minimal tools. Check! Perfect in fact for throwing in the bag as you walk out the door. Just the thing for our recent Hawks Nest trip.
I would be interested in knowing what needle the rest of you use. And your preference for floss or crewel? Or any clever advice. As usual, don't look too closely, and yes it is crumpled, from the travel you know!
Labels:
craft
,
embroidery
,
learn to sew
,
my creative space
,
yarn
Thursday, 21 March 2013
my creative space - teach
There's a secret I've been keeping for a little while now, a plan I've been hatching with my new friend Melissa. I've been dying to share it but I wanted to wait until it was all organised and unveiled.
Melissa Tan opened her new craft classroom space and shop SewMakeCreate at the end of last year in Sydney's Inner West, my part of town! SewMakeCreate is a wonderful little crafting and sewing space and shop close to Broadway Shopping Centre, tucked away down a closed off leafy street in Chippendale.
Melissa has come to her new venture from the fashion world. She's a maker too and has an Etsy shop. Introduced by mutual friend Sue (my first friend on Etsy) we hit it off at our first meeting and bonded over a love of craft and sewing and our desire to share that with others.
I also fell in love with her too cute sidekick Pepper above (a 'puginese') who helps her run her creative space. What a sweetie!
I'm very excited that I'm going to be part of SewMakeCreate, hosting my first ever craft classes at SewMakeCreate next month! The class I'll be teaching is a two part workshop on something dear to my heart, Eraser Carving for Paper and Fabric printing. (Other classes include crochet, sewing, watercolour painting.)
If you've followed my blog for any length of time you'll know that block printing is one of my favourite things. I love the simplicity and speed of the process. I love the way you can experiment easily and make unlimited different designs with just a few stamps. How you can print or combine those stamps in many different ways to make new designs. Or the many and varied applications, from envelopes to bags that you can print with them.
And you don't need to be a great artist, some of the most beautiful designs are made with simple shapes.
I can't wait to share this style of printing with others. I've loved the recent workshops I've been part of, there's something really inspiring about being part of a group learning and crafting together. So it will be great to host my own.
If that sounds like fun to you head over to the SewMakeCreate website and see more details about the two part workshop. All materials will be supplied, you just have to show up. Part one deals with carving your block and printing on all sorts of paper. Part two will see us printing on fabric, and in particular a tea towel and a tote bag. I'm going to bring some of my stamps to play with too.
The best thing about this simple and inexpensive craft is that you can take your stamps and what you've learnt and keep experimenting with it at home. Once you learn to stamp there are so many ways you can use the prints in your life.
p.s. I'm still weighing up options for an alternative to Google Reader, but I know a lot of you have moved across already to Bloglovin. If so you can follow my blog with Bloglovin here.
Labels:
craft
,
fabric design
,
my creative space
,
print
,
printing
,
tutorial
Subscribe to:
Posts
(
Atom
)

