Wednesday, 30 November 2016
candle making
A while ago I got an email from Tim at Crafty Candle Supplies asking if I wanted to have a play with their products. As a craft tragic and candle lover the answer was a big yes!
Candlemaking has been on my craft wish list for a while but its one of those things that seem a bit tricky, a specialised craft with specialised equipment so I've never got round to it.
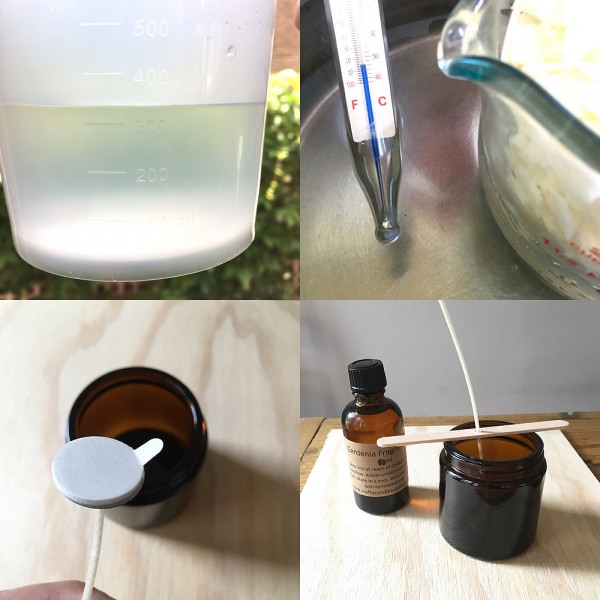
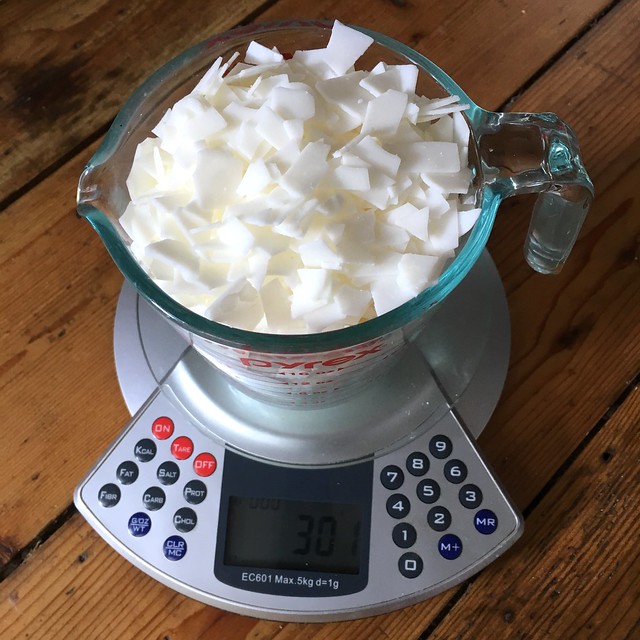
I've just poured my second set of candles though and the good news is its so easy, especially with a kit. I managed to melt up some wax, use two different fragrances and some colour and I poured five little vessels in under an hour.
It helped that Crafty have simple candle guides on their website, but really, this is a craft you can enjoy with no previous experience. And the highest temperature the wax gets to is 80 degrees celsius which is cooler than boiling water.
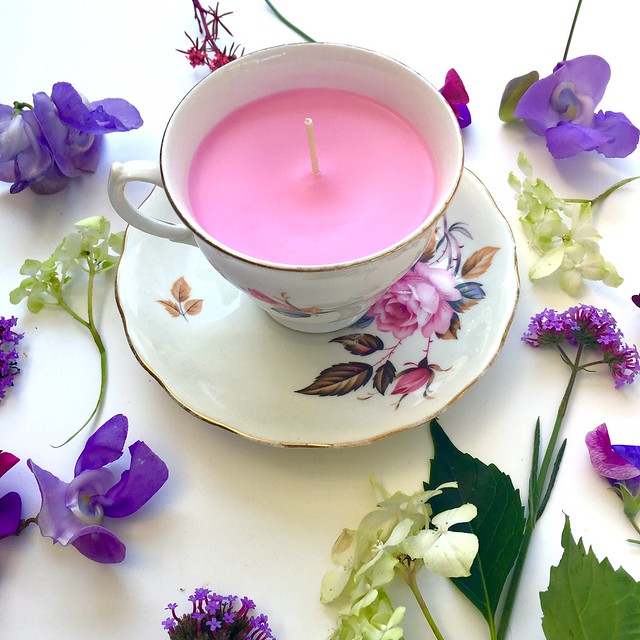
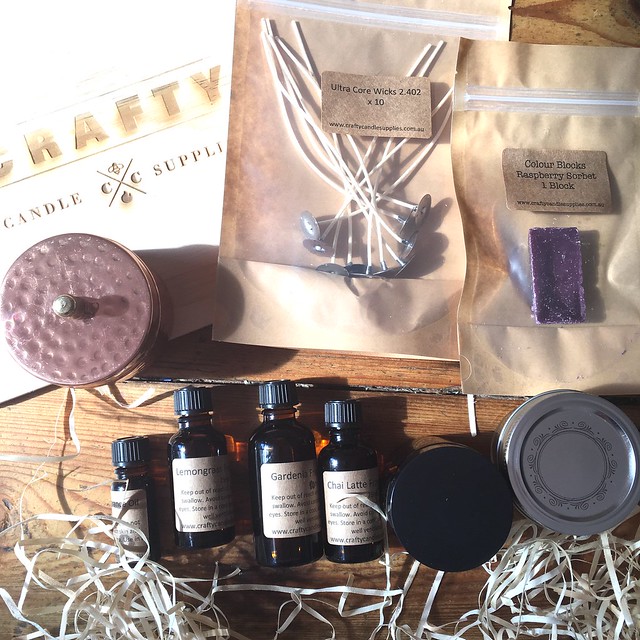
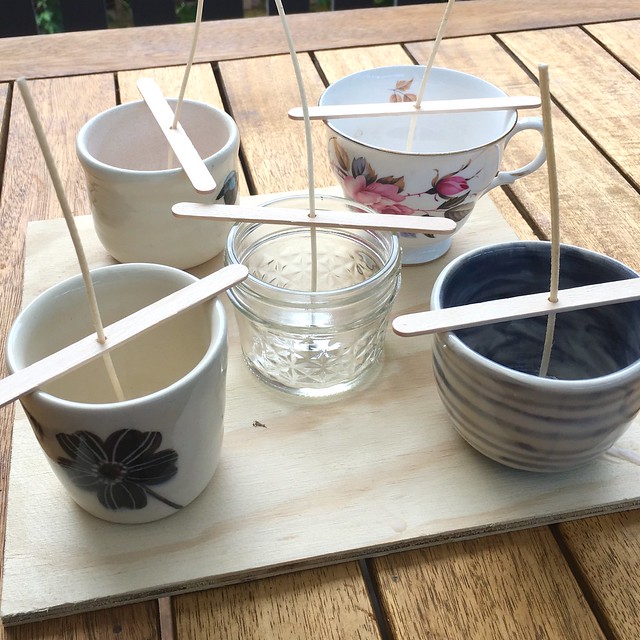
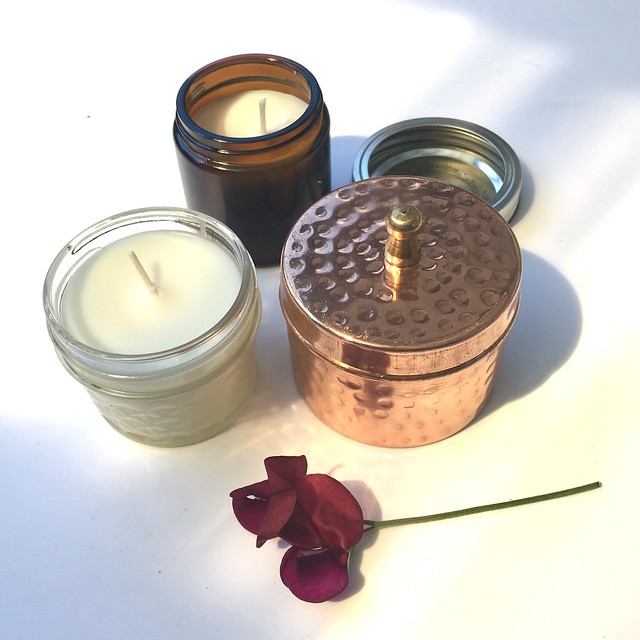
I was sent a small selection of specialised candle vessels - mason jar, hammered copper tin, and some amber glass lidded jars. I also bought some vintage tea cups at the op shop, I've seen these used for candles before. Its a nice new life for these and the slight chips or staining aren't as important and often hidden by wax. In fact the op shop is a perfect place to find unique and original candle holders, just make sure they are heat proof and sealed.
I also used some flowerpress ceramics which are fully glazed inside and out, I want to give these as gifts and I love the idea that after the candle burns you can rinse out the pot and use it for other things, a gift that gives twice!
Making your own candles is great for gift giving, perfect for this time of year, and the wax is set within 24 hours so you don't have to plan too far ahead.
I have my eye on some of Crafty Candle sets for Christmas. I love the way its a one stop shop and the wooden boxes are great for presentation and storage. I used the lid to set up the wax containers as it didn't matter if I got wax on it. The wax is pretty easy clean though and washes off in hot water.
The only hard part is choosing from the fragrances... I do love a smelly candle!
Luckily on my last candle making try I realised that I could melt all the wax in one go but add fragrances individually, as long as I wrote down the measurements of each pot so I knew how much to decant and add scent to. And also I needed to rinse the scented wax from the pouring jug before adding more.
My other advice is to check the flash point for fragrances before you start so you have that information in hand. This refers to the perfect temperature to add fragrance to the hot wax and varies for different scents.
I wrote out my notes on the whole process so I wasn't looking it up online during the making, you could easily print it out also. Different containers take different wicks and these are easily attached using wick stickums, a double sided tape that fits onto the wick base perfectly.
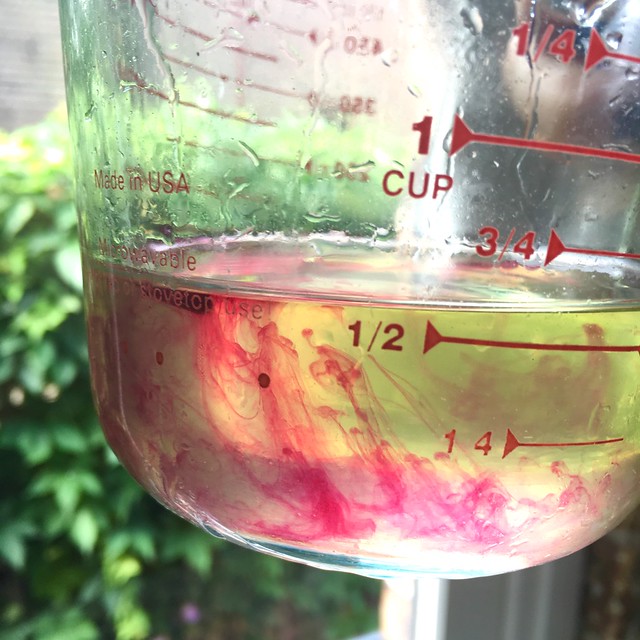
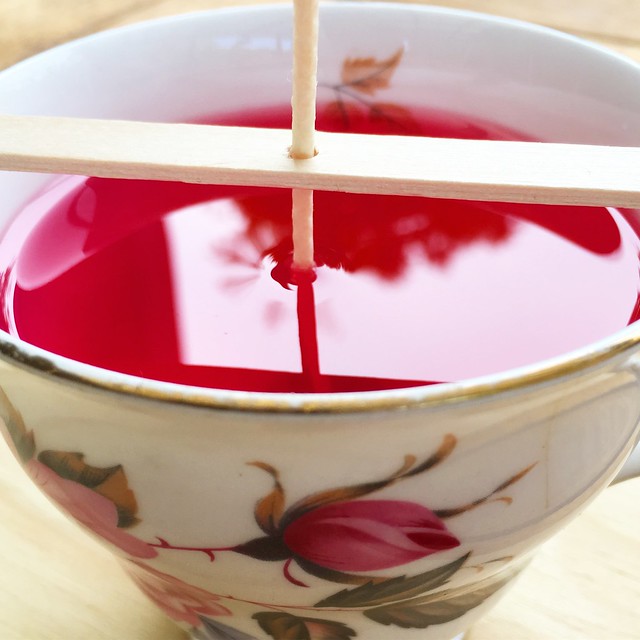
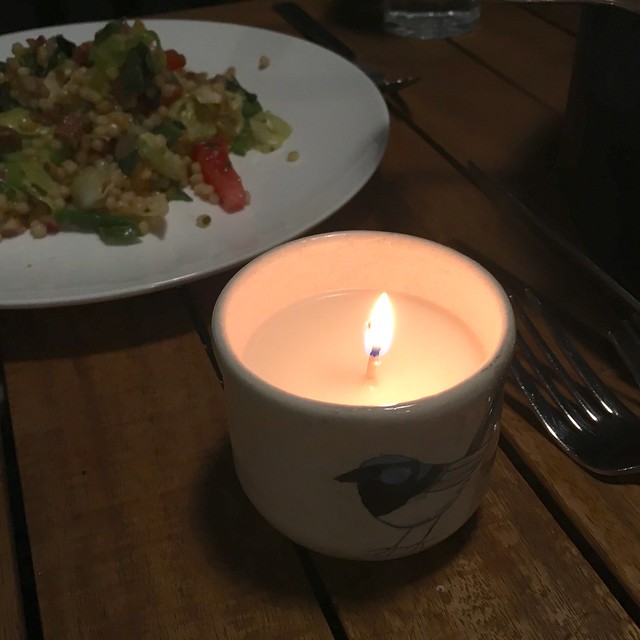
On my second try I coloured some wax. The colour block I used was so pretty and as you can see a small piece added to the melting wax gave my teacup a beautiful pink colour, which matched the pattern perfectly!
All in all I found candlemaking a simple and rewarding craft I'm going to enjoy experimenting more!
Subscribe to:
Comments
(
Atom
)

