Baby Frankie arrived late last year. He is a much loved little brother for Poppy.
Poppy was the first baby I made a quilt for and its still one of my favourites so I'm very happy to hear that baby Frankie is using it in turn. But everyone needs a little blankie action of their own, so when I knew we were going to finally catch up with Mr Frankie, who doesn't live nearby, I wanted to make him something special.
It is inspired by the summer wrap I made little Zoe back here.
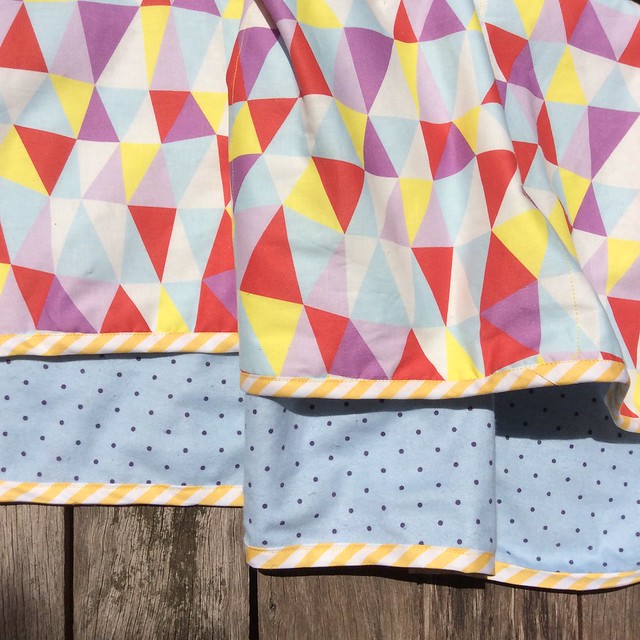
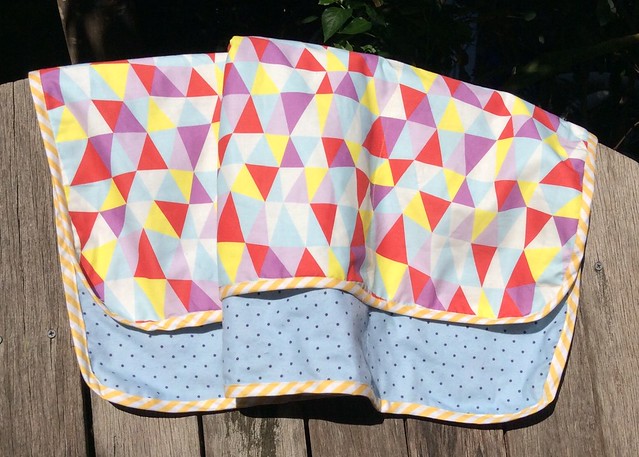
Adapting it for a different season, summer in to autumn, I decided to make a two sided blanket, one side cotton and the other flannel. I wanted a lightweight throw that was easy to drag around, good for car seat or stroller, or big enough to make another layer in the cot. Something soft and cuddly.
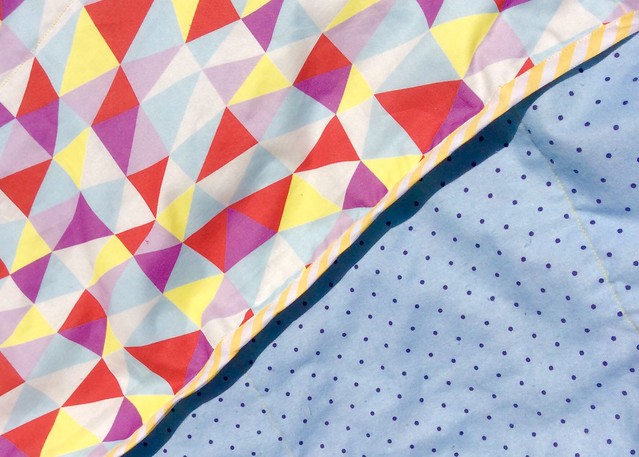
I decided to border it with bias binding because I'm in love with patterned bias. Encouraged by my last successful foray into the dark arts of bias sewing I bought a bright stripy yellow fabric to marry the two prints, my Triangle Twist design fabric and a soft blue flannel with delicate dark blue pinspot. I like the way the colours and geometrics are a little more boyish.
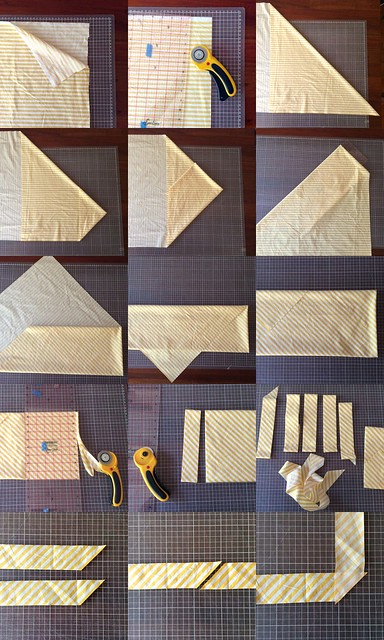
Once you get your mind around the cutting and directioning of Bias binding its really not that difficult. I took some photos this time to remind myself of the process, in particular the folding that gives your strips their diagonal cut. I've reproduced it below in case it might help (and so I don't have to look it up again next time I try this!)
The sewing is tricksy but I figure practice makes perfect and I'm going to keep sewing it till I'm really confident.
There's nothing like starting a new body off with some handmade loving, and its a tradition I really love. Best of all I got the most beautiful photo the other day of Frankie, who is very cute, lying on his blankie so I know its going to be well loved :-)
It was nice to have an excuse to do some making, I've been feeling stretched at the moment, spare time has gone to endless painting of the new bits of house, helping our HSC student, putting the garden to rights and the other endless list of jobs we have around here to finish off our reno. I'm not complaining though I promise, we are loving the extra space and its great being part of the making of our house, in some small way!
p.s. When the good camera is better I'd like to rephotograph it and put up a tutorial so I have it on the blog, but for now here is how you get the fabric to cut on the bias:
trim the fabric square by lining up the selvages;
open it out into one piece; fold the top across to meet the bottom diagonally;
then fold in the other side along that fold, turning until it is all wound up in a rectangle;
cut the end off your 'package' of fabric and then cut your strips the correct width for your bias maker, mine was 1/2 inch double fold so I cut 15/16ths of an inch widths;
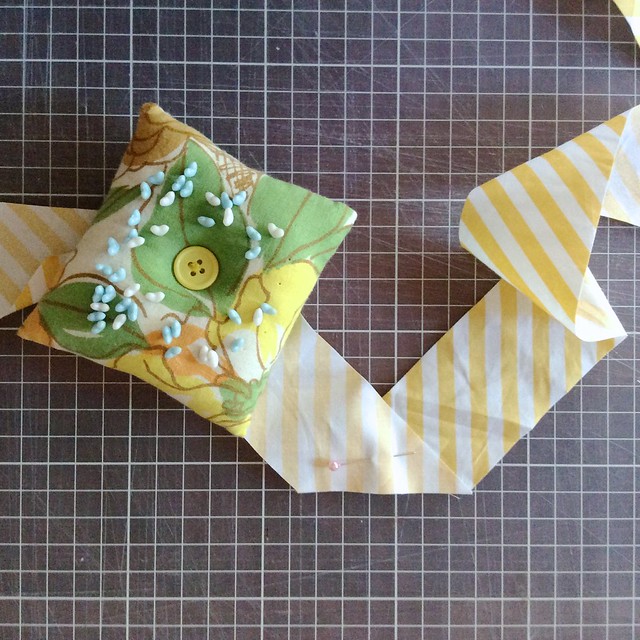
finally make sure you choose two pieces that are cut the same way (hint, they aren't all the same!) and then flip them and pin them like this, overlapping the pointy edges by the margin you are going to sew.


No comments :
Post a Comment
Thank you for dropping by and commenting :-)