Monday, 28 April 2014

self drafted tshirt, mark II

self drafted teeself drafted teeself drafted teeself drafted tshirtself drafted tshirt

The short version of this story is:
I drafted my own t shirt pattern and sewed a tshirt!
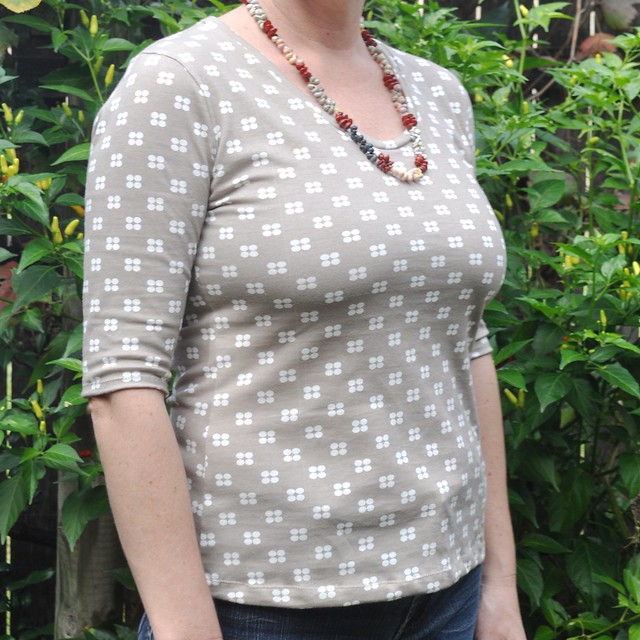
It fits perfectly, its comfortable and just how I imagined it. Success!
And it cost me about ten dollars, if that.

The long version is this:
I watched Cal Patch's video on drafting a tshirt pattern, and one on sewing a tshirt, and then drafted and sewed my first tshirt, blogged here.

I was pretty pleased with the finished product but only as a muslin, it had a few issues which I'm still resolving, but it was a tshirt and I learned heaps along the way and I beat my fear of sewing jersey fabric.

Just recently Cal launched a new four part series on pattern drafting; making muslins; adapting patterns; and making patterns from existing clothes.

I've spent the last month watching the series, with more than a few 'a ha' moments along the way. It built on the knowledge I'd learnt in her t shirt drafting class and then took it much further. Cal demystifies the process of pattern making and shows you the basics of different styles. I'm a big fan of her simple and straighforward teaching, and I like her thoughts on life and fashion as well. I've also learnt a bit about sewing watching her make her clothes. Seeing every part of the process is so helfpul for a visual learner like me.

The series gave me confidence to revisit my tshirt pattern. This time I started from scratch and used an existing t shirt that I like to draft the new pattern, but I compared it with my original self drafted version and the original muslin using that information to make changes and revisions.

With my heart in my mouth I cut and sewed the new pattern yesterday.

Success! This time it fits perfectly. The neckband is the right length, the sides aren't too loose and the finish is professional. I love it. And best of all I have a bespoke pattern that I can use to make a million more tshirts.

I read more before attempting my second pattern too. In particular Maria Denmark's blog about negative ease and fitting helped a lot. She has a series about fitting tees which I must more of. She also has a boat neck Kimono tee pattern for free download on her great site. I'm thinking of trying a boatneck next time around.

Because I have an overlocker (serger) I sewed the whole tee with it, except for the bottom and sleeve hems. It makes it such a quick sew and gives a professional finish. I used my walking foot and a narrow zigzag for finishing the hems which helps keep them from distorting.

Friday, 25 April 2014

a week away

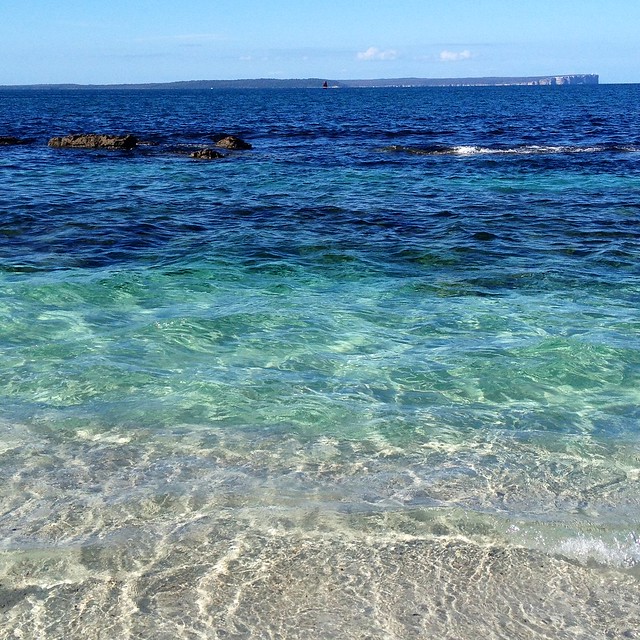
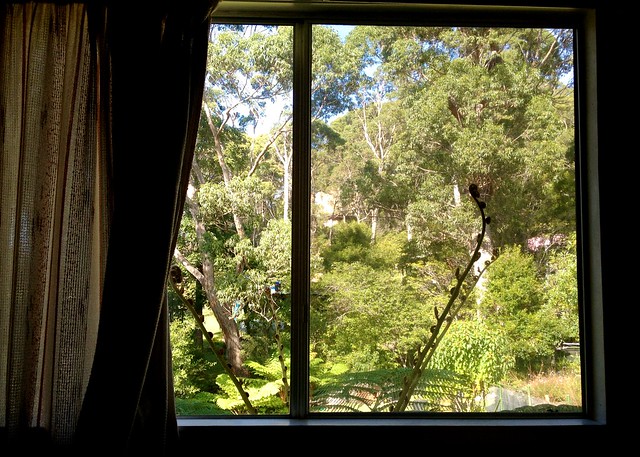
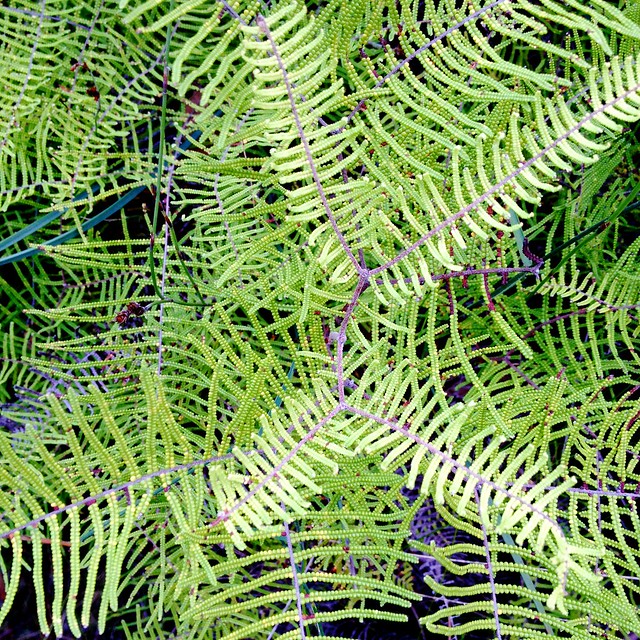
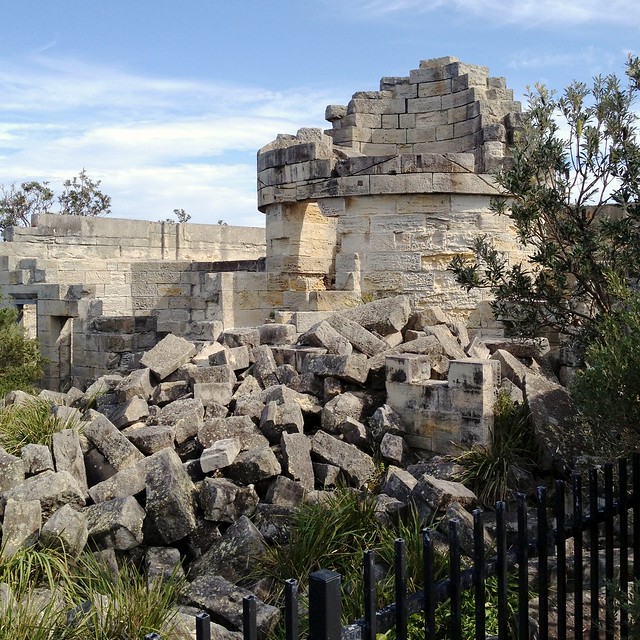
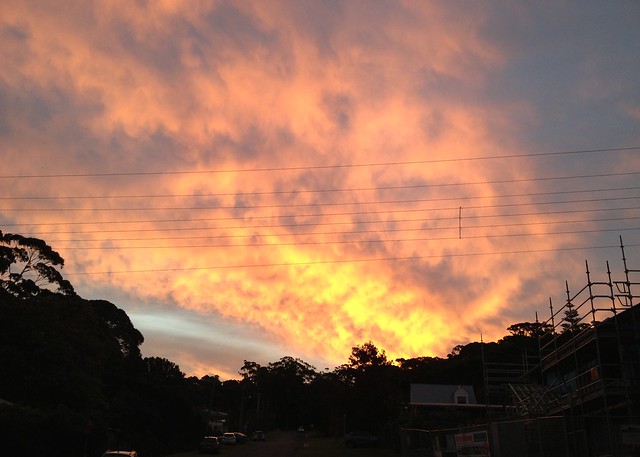
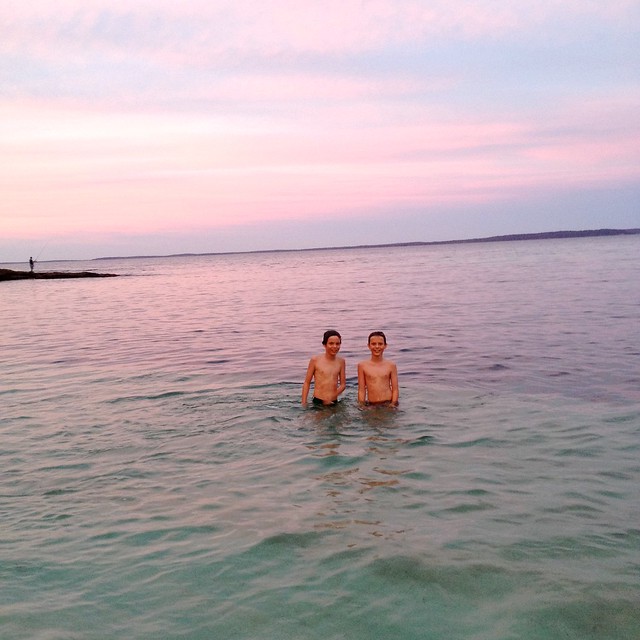
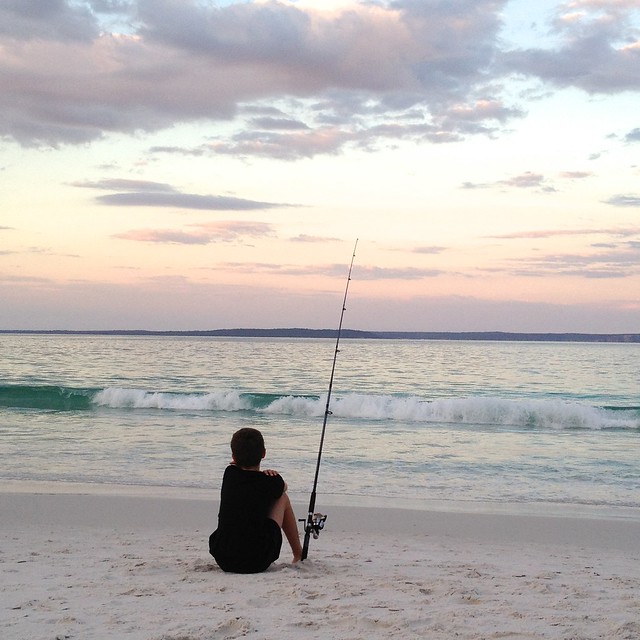
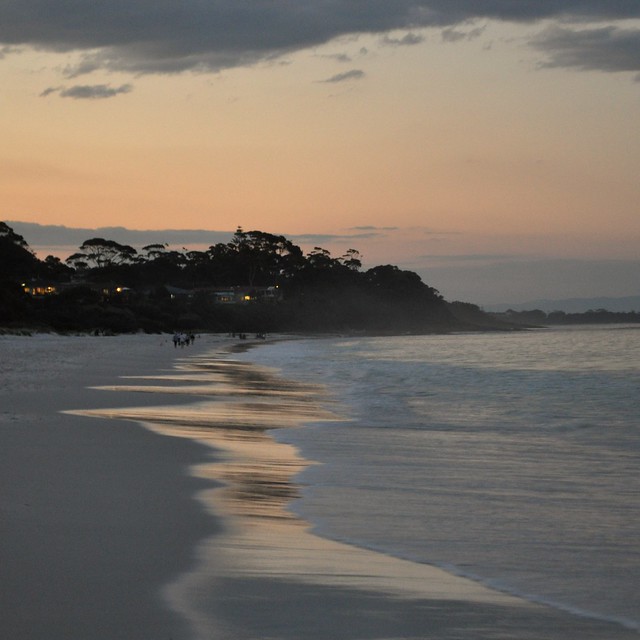
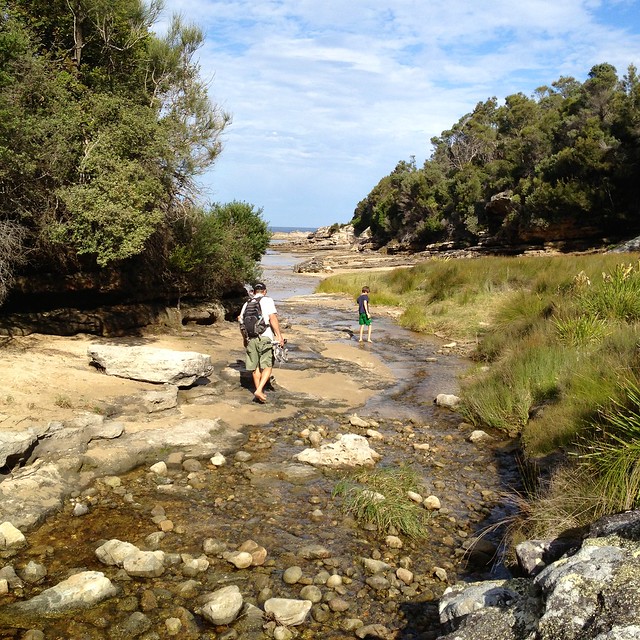
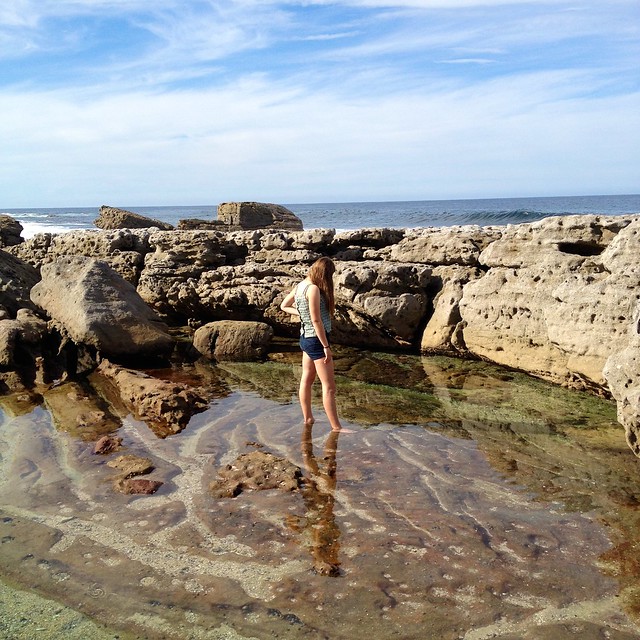
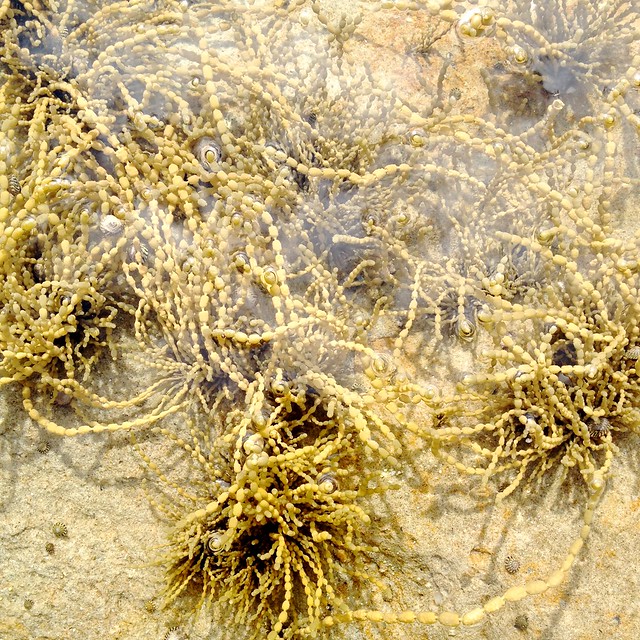
easter 2014easter 2014easter 2014easter 2014easter 2014easter beachingeaster 2014 easter 2014easter 2014easter 2014easter beachingeaster 2014easter 2014easter 2014easter 2014

We were lucky enough to go away for a whole week this Easter as it coincided with school holidays and the Anzac Day long weekend.

We went again to a favourite place, Hyams Beach on Jervis Bay.

Amazingly after three weeks of drenching rain we lucked upon the first dry Easter round these parts for eight years, and just the most magical weather ever for mid autumn. We had warm clear days and crisp nights. The sun shone, the sky was blue and the water temperature was perfect for swimming and snorkelling every day. I am feeling most blessed by this amazing week with my special gang. We had lots of laughs and lots of magic days, much relaxing and some adventures.

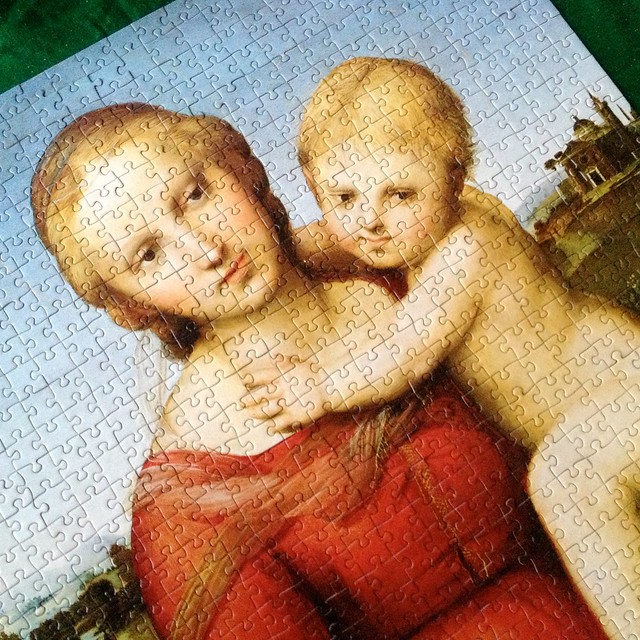
As usual there was walking, and fishing and jigsaw puzzling. New this year were prawning in the estuary (we caught two!) and lots of underwater filming with the gopro camera I gave Mr Flowerpress for his birthday. As soon as I can work out how to edit and upload I'll show you the huge blue groper I swam with yesterday, or the black reef leatherjacket who stayed still long enough for me to film him. Our videos are a trifle dodgy, but it was so much fun to record all the amazing fish life in this marine park. It amazes me every time I put my head underwater in Jervis Bay, its such a busy world under there!

Anyway I'll let the photos talk for themselves. Wherever you are I hope you had some time off this past fortnight and some beautiful weather too.

Previous visits, and some of my favourite photos, here, and here, and here and here.

Wednesday, 16 April 2014

built by wendy 3835

built by wendy 3835built by wendy 3835built by Wendy 3835built by wendy 3835built by wendy 383538353835

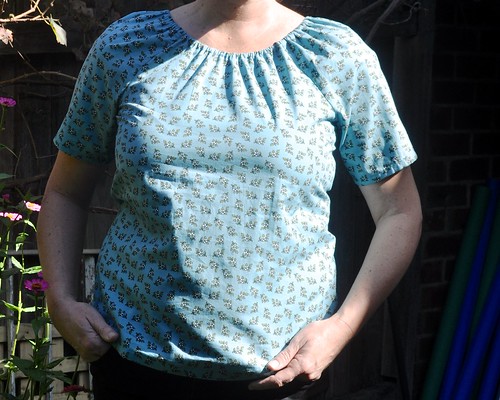
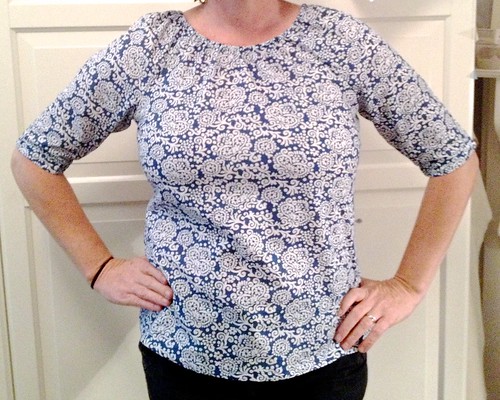
The Built by Wendy Simplicity 3835 pattern is famous on the interwebs. Everyone has made it, and usually more than once! This versatile pattern is for a top and two dresses with different sleeve lengths and necklines.

Do you know it? Its been out of print for years but still manages to appear regularly on sewing blogs. In fact all the Built by Wendy patterns are popular. And all out of print.

I don't understand why pattern companies, and fabric companies, don't revive some of their more popular designs. I'm sure there are reasons, but when they are still sought after and increasingly rare, I feel like they could do a limited rerelease.

The good news about the 3835 pattern, for me and for you if you don't own it, is that it is available as a digital download from the site sewingpatterns.com along with some of the other Built by Wendy patterns.

I bought the pattern and made this top once a year or two ago. It is a quick sew and takes a tiny amount of fabric. I quite liked it at the time, but wear it rarely because it ended up as they often do too tight across the bust and shoulders, but gapey on the sides where I ended up taking it in.

When I decided recently to finally tackle the world of the FBA, or full bust adjustment, it was this simple pattern I turned to. The FBA if you don't know it is an essential tool if you are a sewer with a larger than B cup. Its also a good first step toward making your own pattern alterations, which leads to more satisfying clothes sewing.

Its taken me a while to learn this secret, but now I'm on to it! My first basic foray into pattern making here also gave me more of an understanding about how it all works, and more confidence to fiddle.

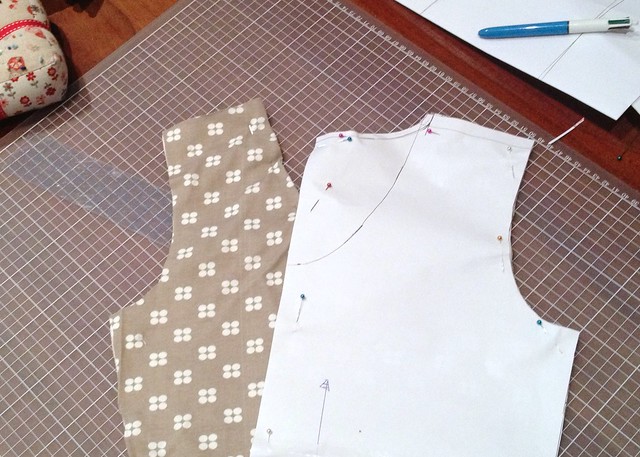
Unfortunately this is a raglan style top and the instructions for a raglan FBA were thin on the ground so it took some dithering around until I just went for it. The only tutorial I could find online was this one. I'm not sure what she does with the dart at the end, so I pressed on and added a dart where one didn't exist before and left it there.

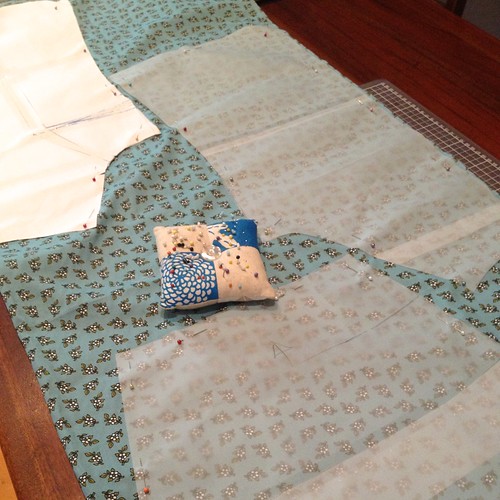
I sewed a couple of muslins with my revised pattern making changes until I was happy with the fit. I actually ended up coming down two pattern sizes. From making a size 16 the first time I sewed this eventually as a 12, using my high bust measurement, adding a FBA and using the size 14 sleeves with slightly extended armscyes to fit. The sleeves are notoriously tight on this pattern.

I then cut the sleeve lengths where I wanted rather than following the pattern, I used the longer dress length sleeve pattern rather than the top as a starting point.

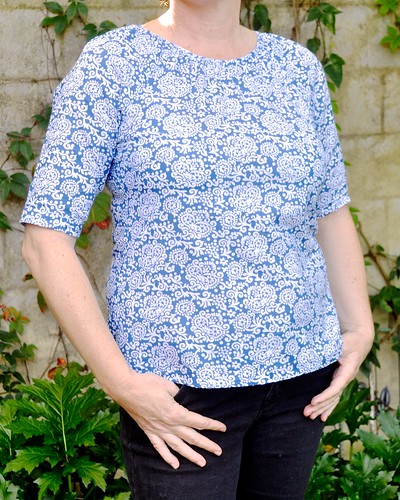
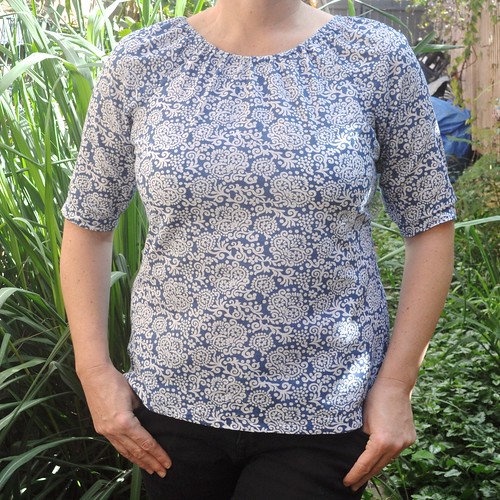
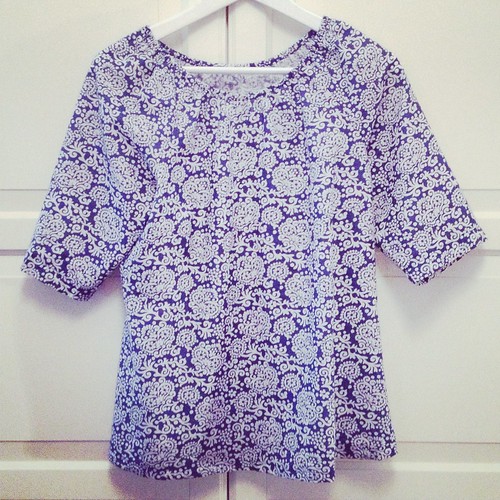
Once I was happy with my revisions I made these two tops in quick succession. I think the blue and white patterned top is the more successful due to the nice drape of this voiley Spotlight fabric which was already in the stash.

But I do love the colour of the blue floral figured fabric and couldn't resist buying it. It has a bit of a starchy, quilty feel but I'm hoping it will wear in a bit. The good news is that both tops cost less than $10 to make and I now have a bespoke pattern that I can make confidently again. And it has given me confidence for altering other patterns.

As usual I hate photos of myself (I enlisted my school holidaying junior photography team for these) but as usual I wanted to pay back all those people who have shared their 3835s online and from whom I've learnt so much. Special mention to the special Built by us Flickr group. Check out my friend Jo's versions, they are all great.